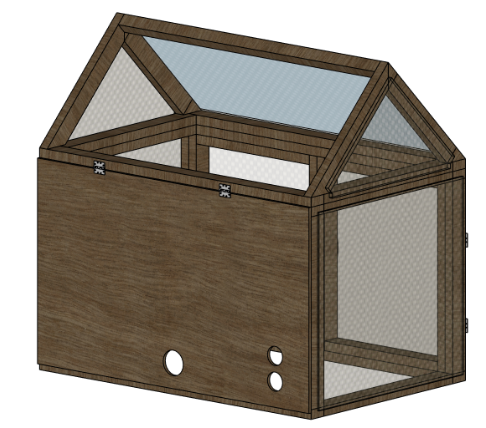
Overview
A sensor-driven greenhouse built for ATLS 4519 — Hacking the Apocalypse. Working in a group of three, we designed and constructed a fully automated growing environment: temperature, humidity, and soil moisture sensors feed data into an Arduino Uno, which controls grow lights and triggers a bilge pump whenever moisture drops too low. I contributed to the physical build and electronics throughout.
Class Premise
The year is 2035. A decade of jingoistic trade wars combined with abandonment of social investments has led to the near unattainability of basic human needs, including food, water, clothing, and shelter from increasingly tempestuous weather. Artificial intelligence has eliminated 85% of blue collar work, and 100% white collar labor. Those who are valued serve a ruling class of trillionaires and billionaires who abandon the rest of the world’s population while occupying vast, decadent fortress-cities behind impenetrable defense. While 99% of the population spends years battling hunger, thirst, and each other, legends grow of a group of techno-rebels in the West. According to the stories, they produce clean water, chemical-free foods, durable and adaptable clothing, and thrive between the spaces sequestered by the ruling class.
Materials & Tools
Physical Tools
Table saw, chop saw, drill, drill press, jigsaw, staple gun, router
Materials
1×2 lumber, screws, clear vinyl sheeting, cement/plant tray, soil, seeds, soaker hose, conductive aluminum tape
Electronics
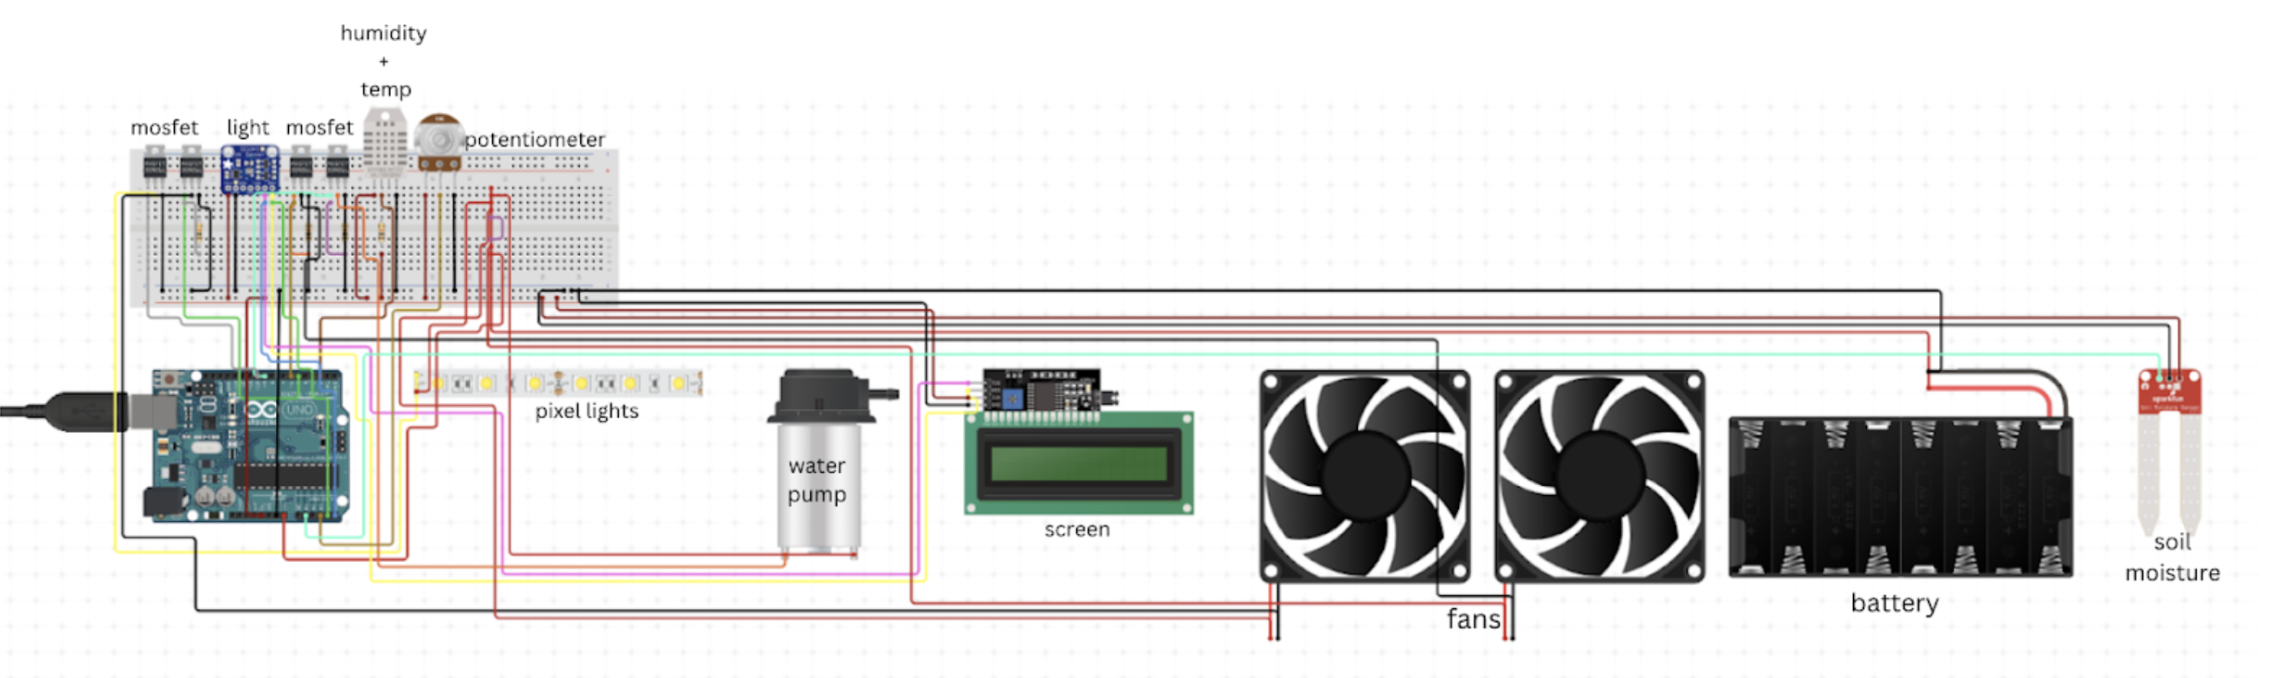
Arduino Uno, breadboard, DHT22 (temp/humidity), soil moisture sensor, photo-resistor, MOSFET, pixel lights, bilge pump, 5V battery, 12V power supply, jumper wires
3D Modeling
Before cutting a single board, we modeled the entire greenhouse in SketchUp: frame, roof, vinyl panels, electronics enclosure, and back panel. Working out dimensions and joinery in CAD let us catch problems before they became wasted lumber, and gave us a reference throughout the physical build.
Final Assembly & Full Dimensions
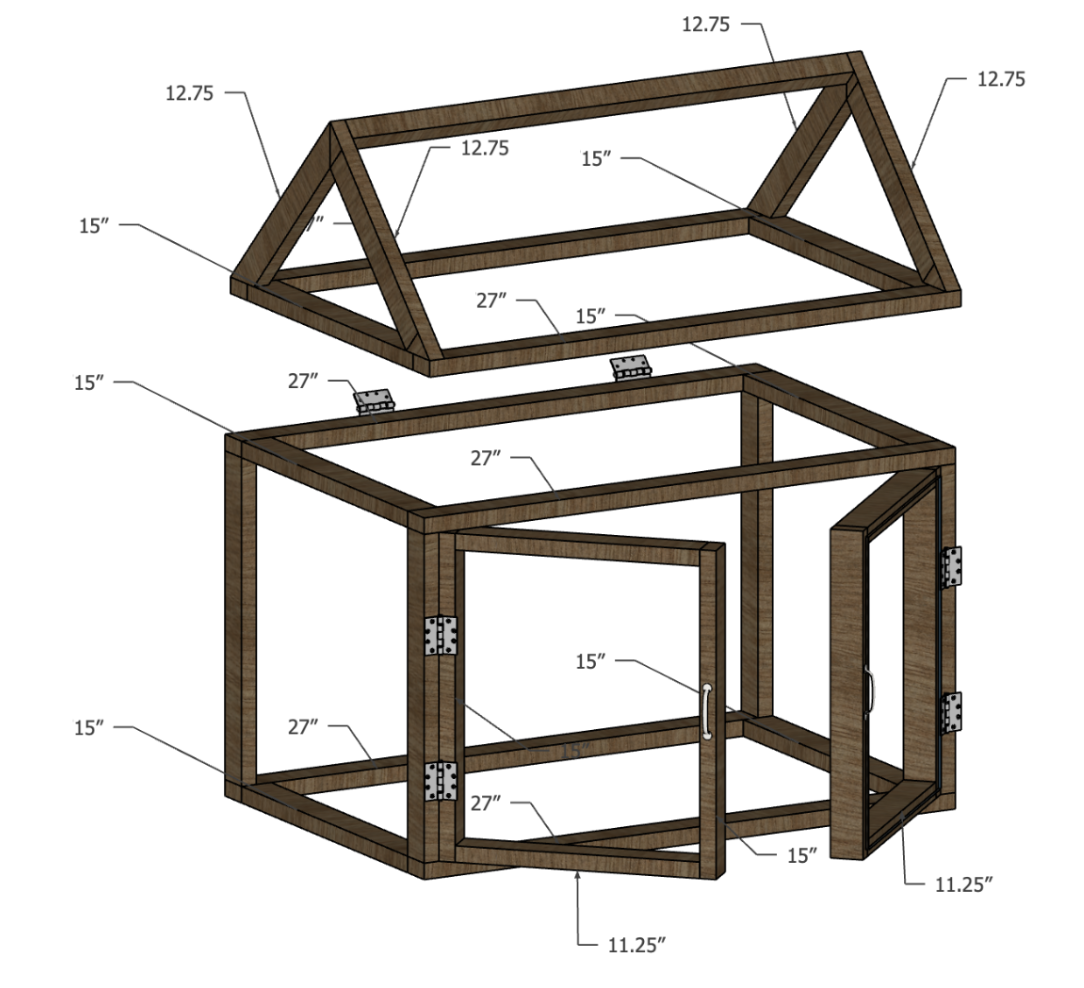
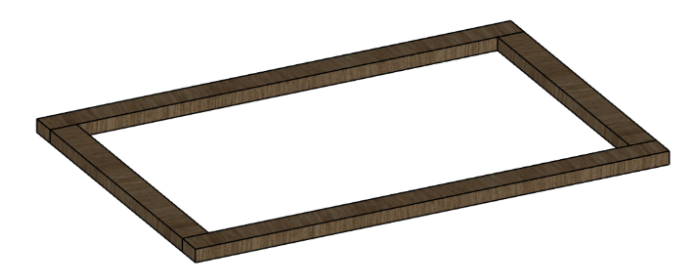
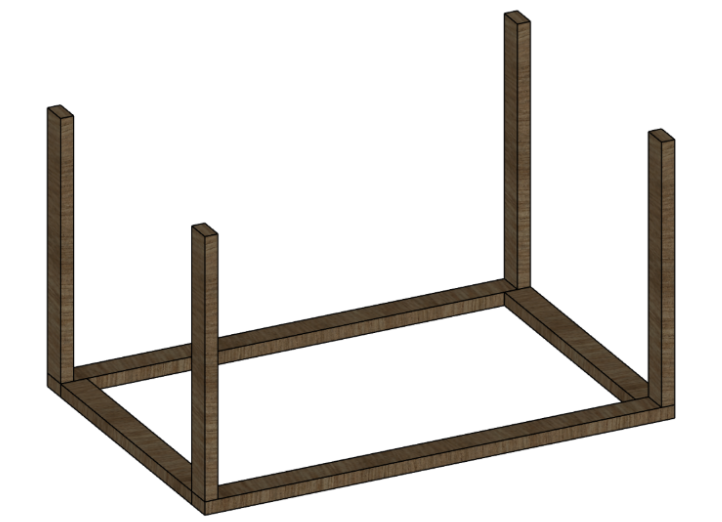
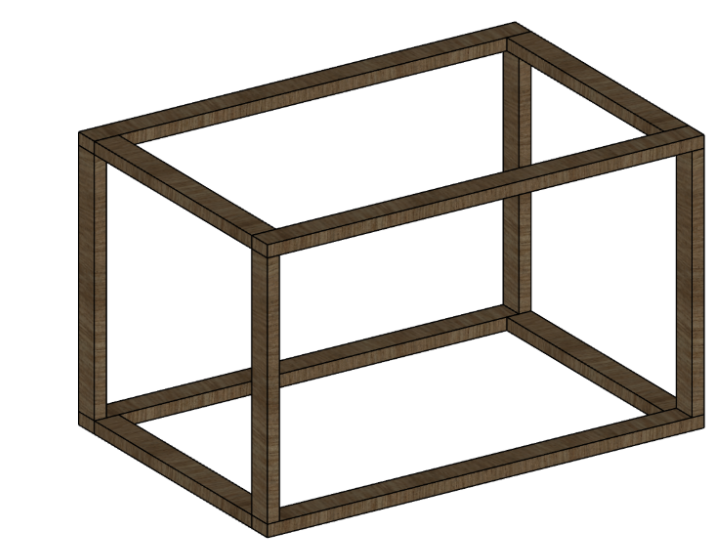
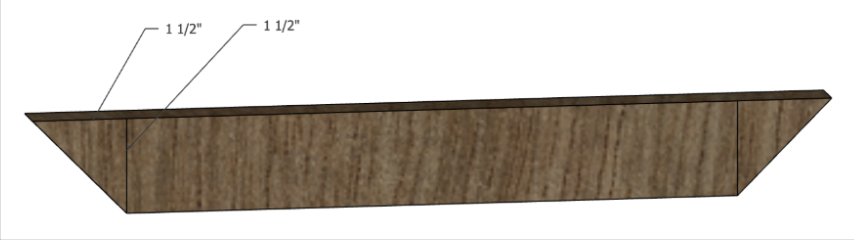
Frame — Base Construction
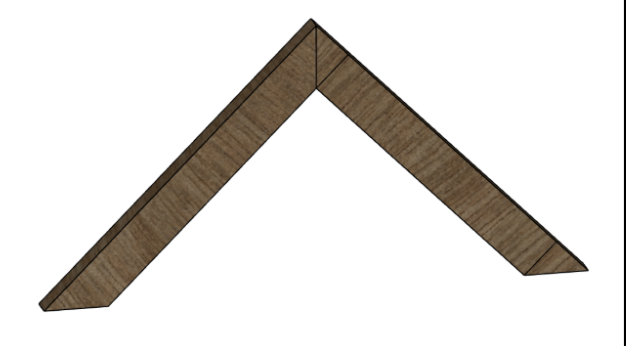
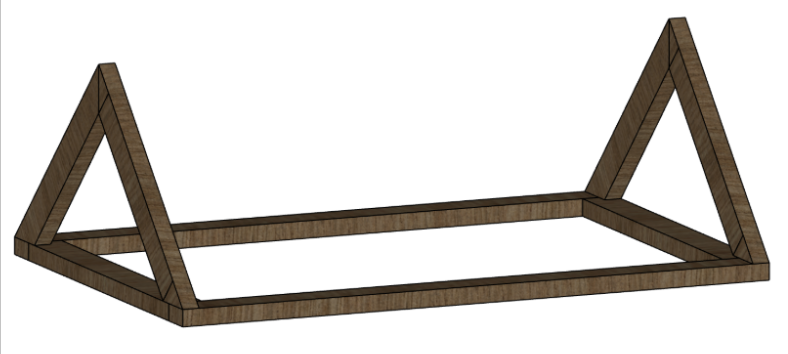
Frame — Roof Construction
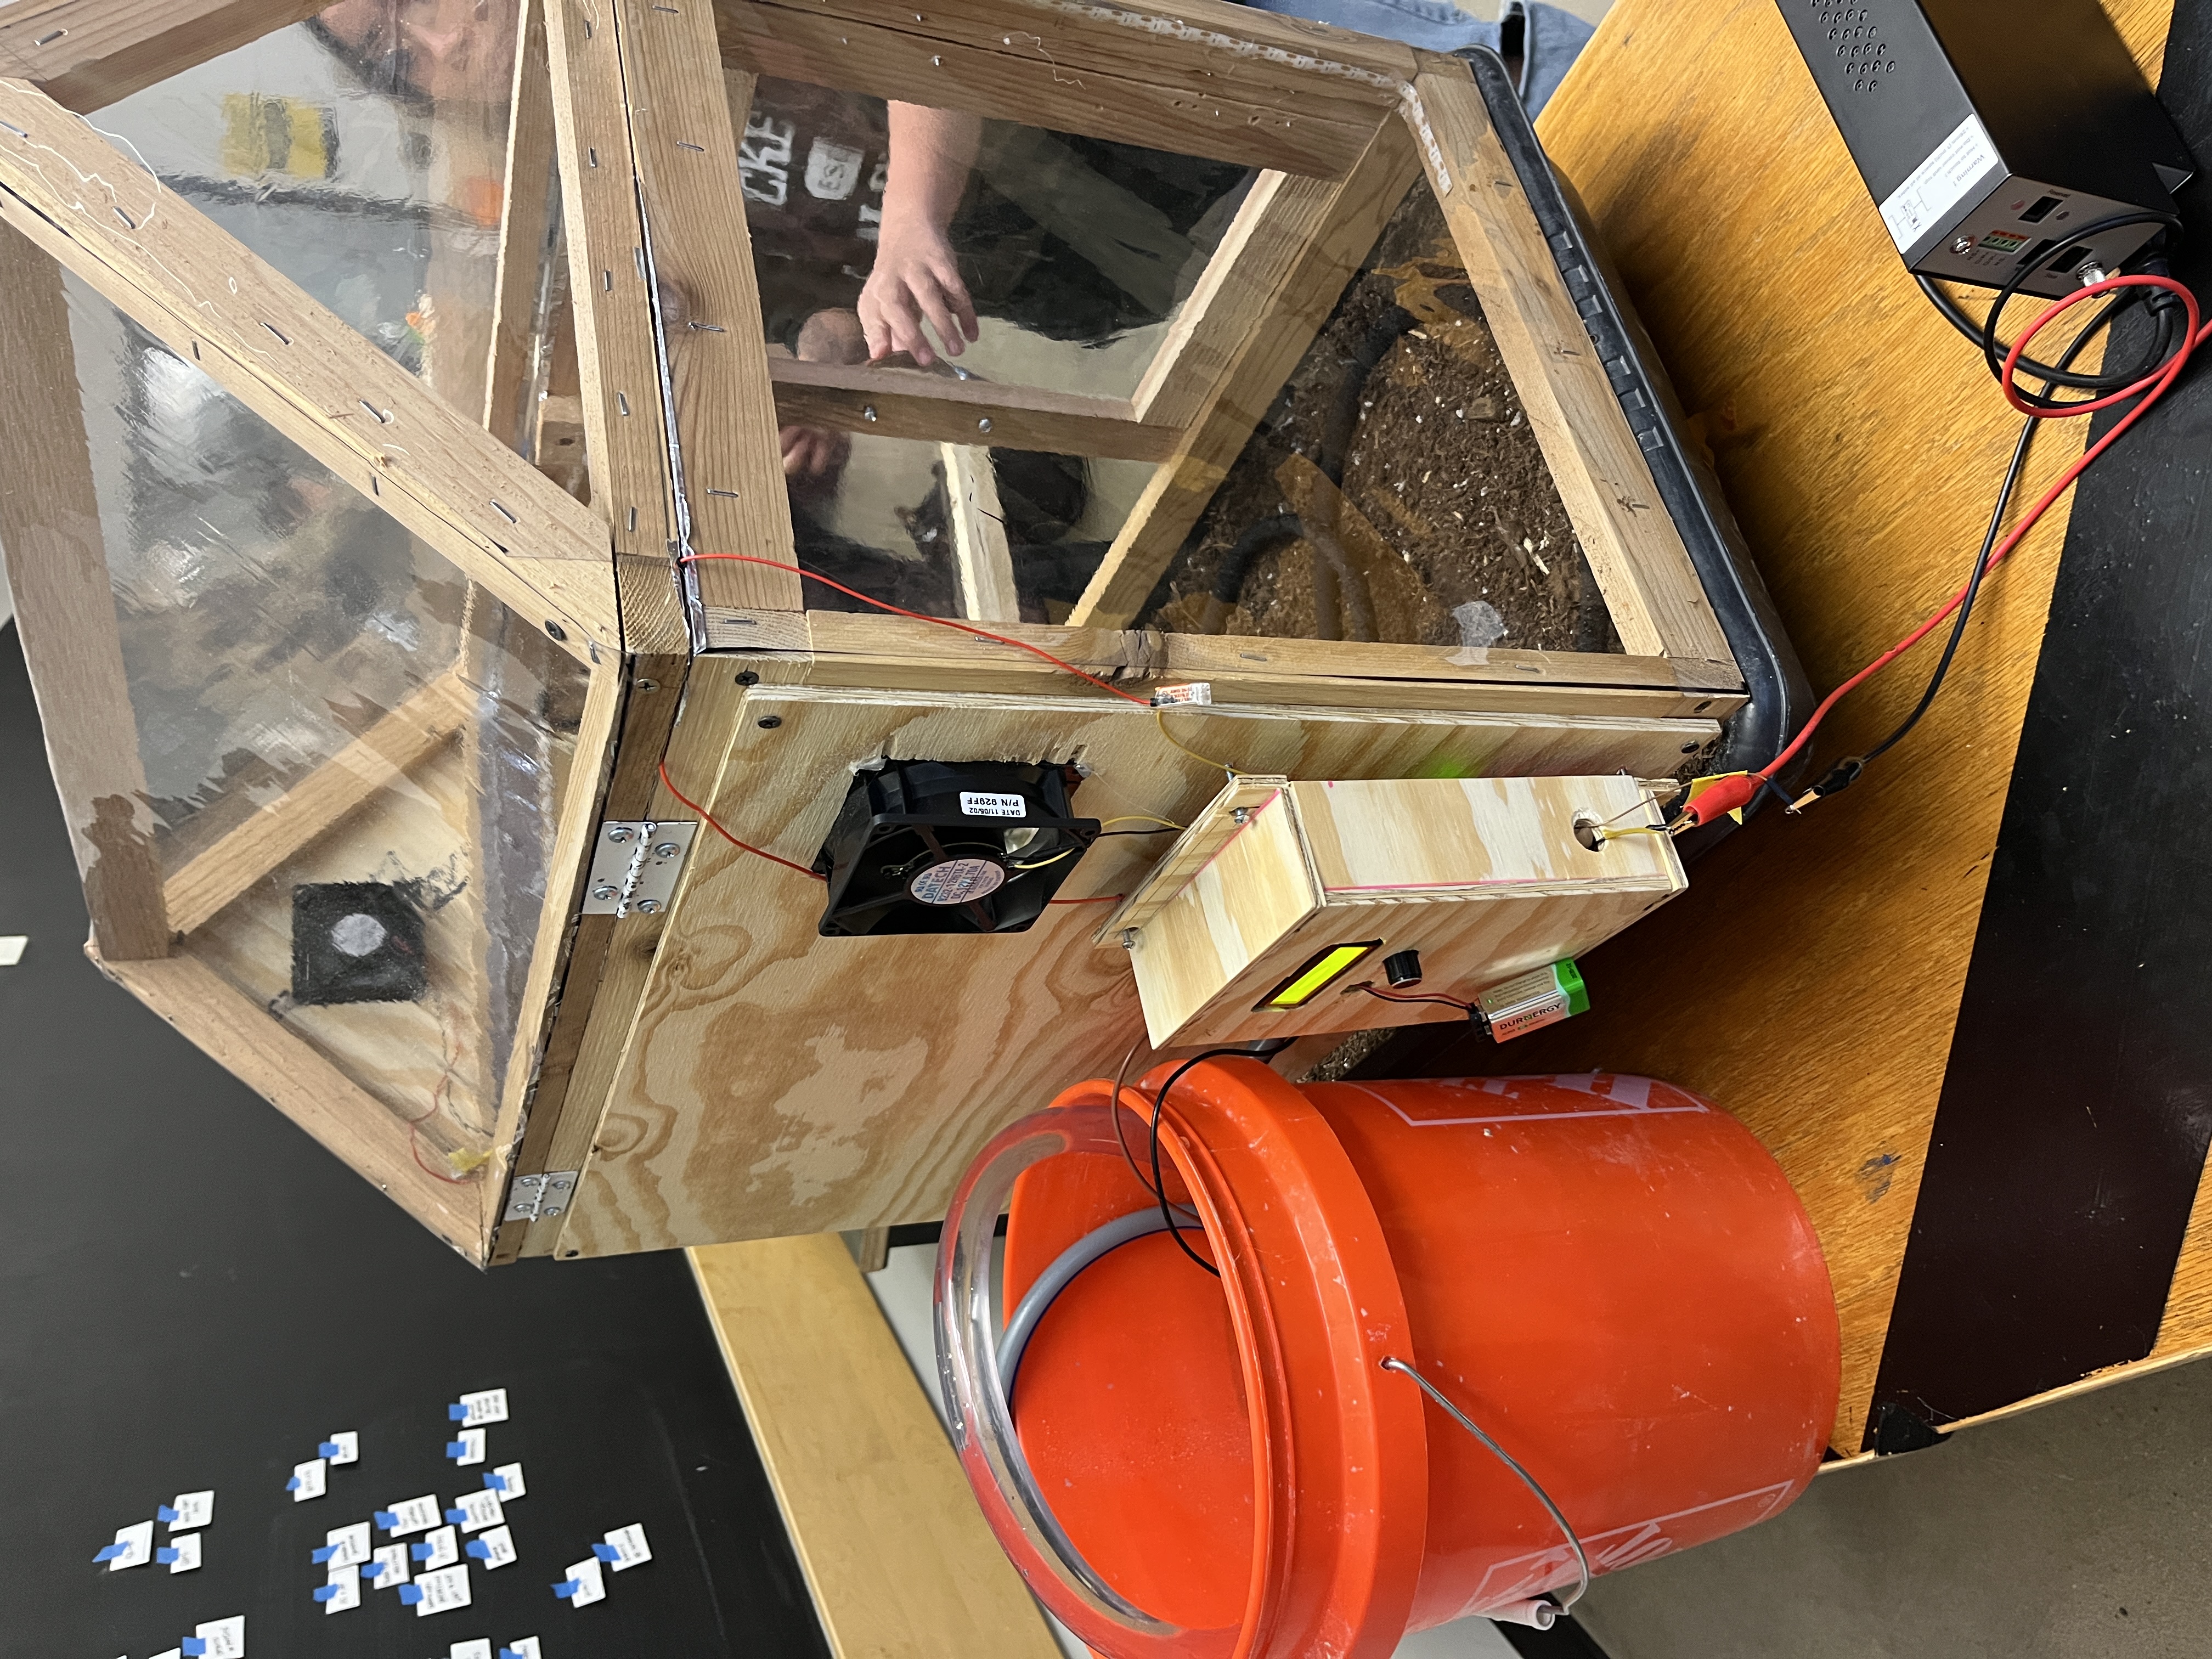
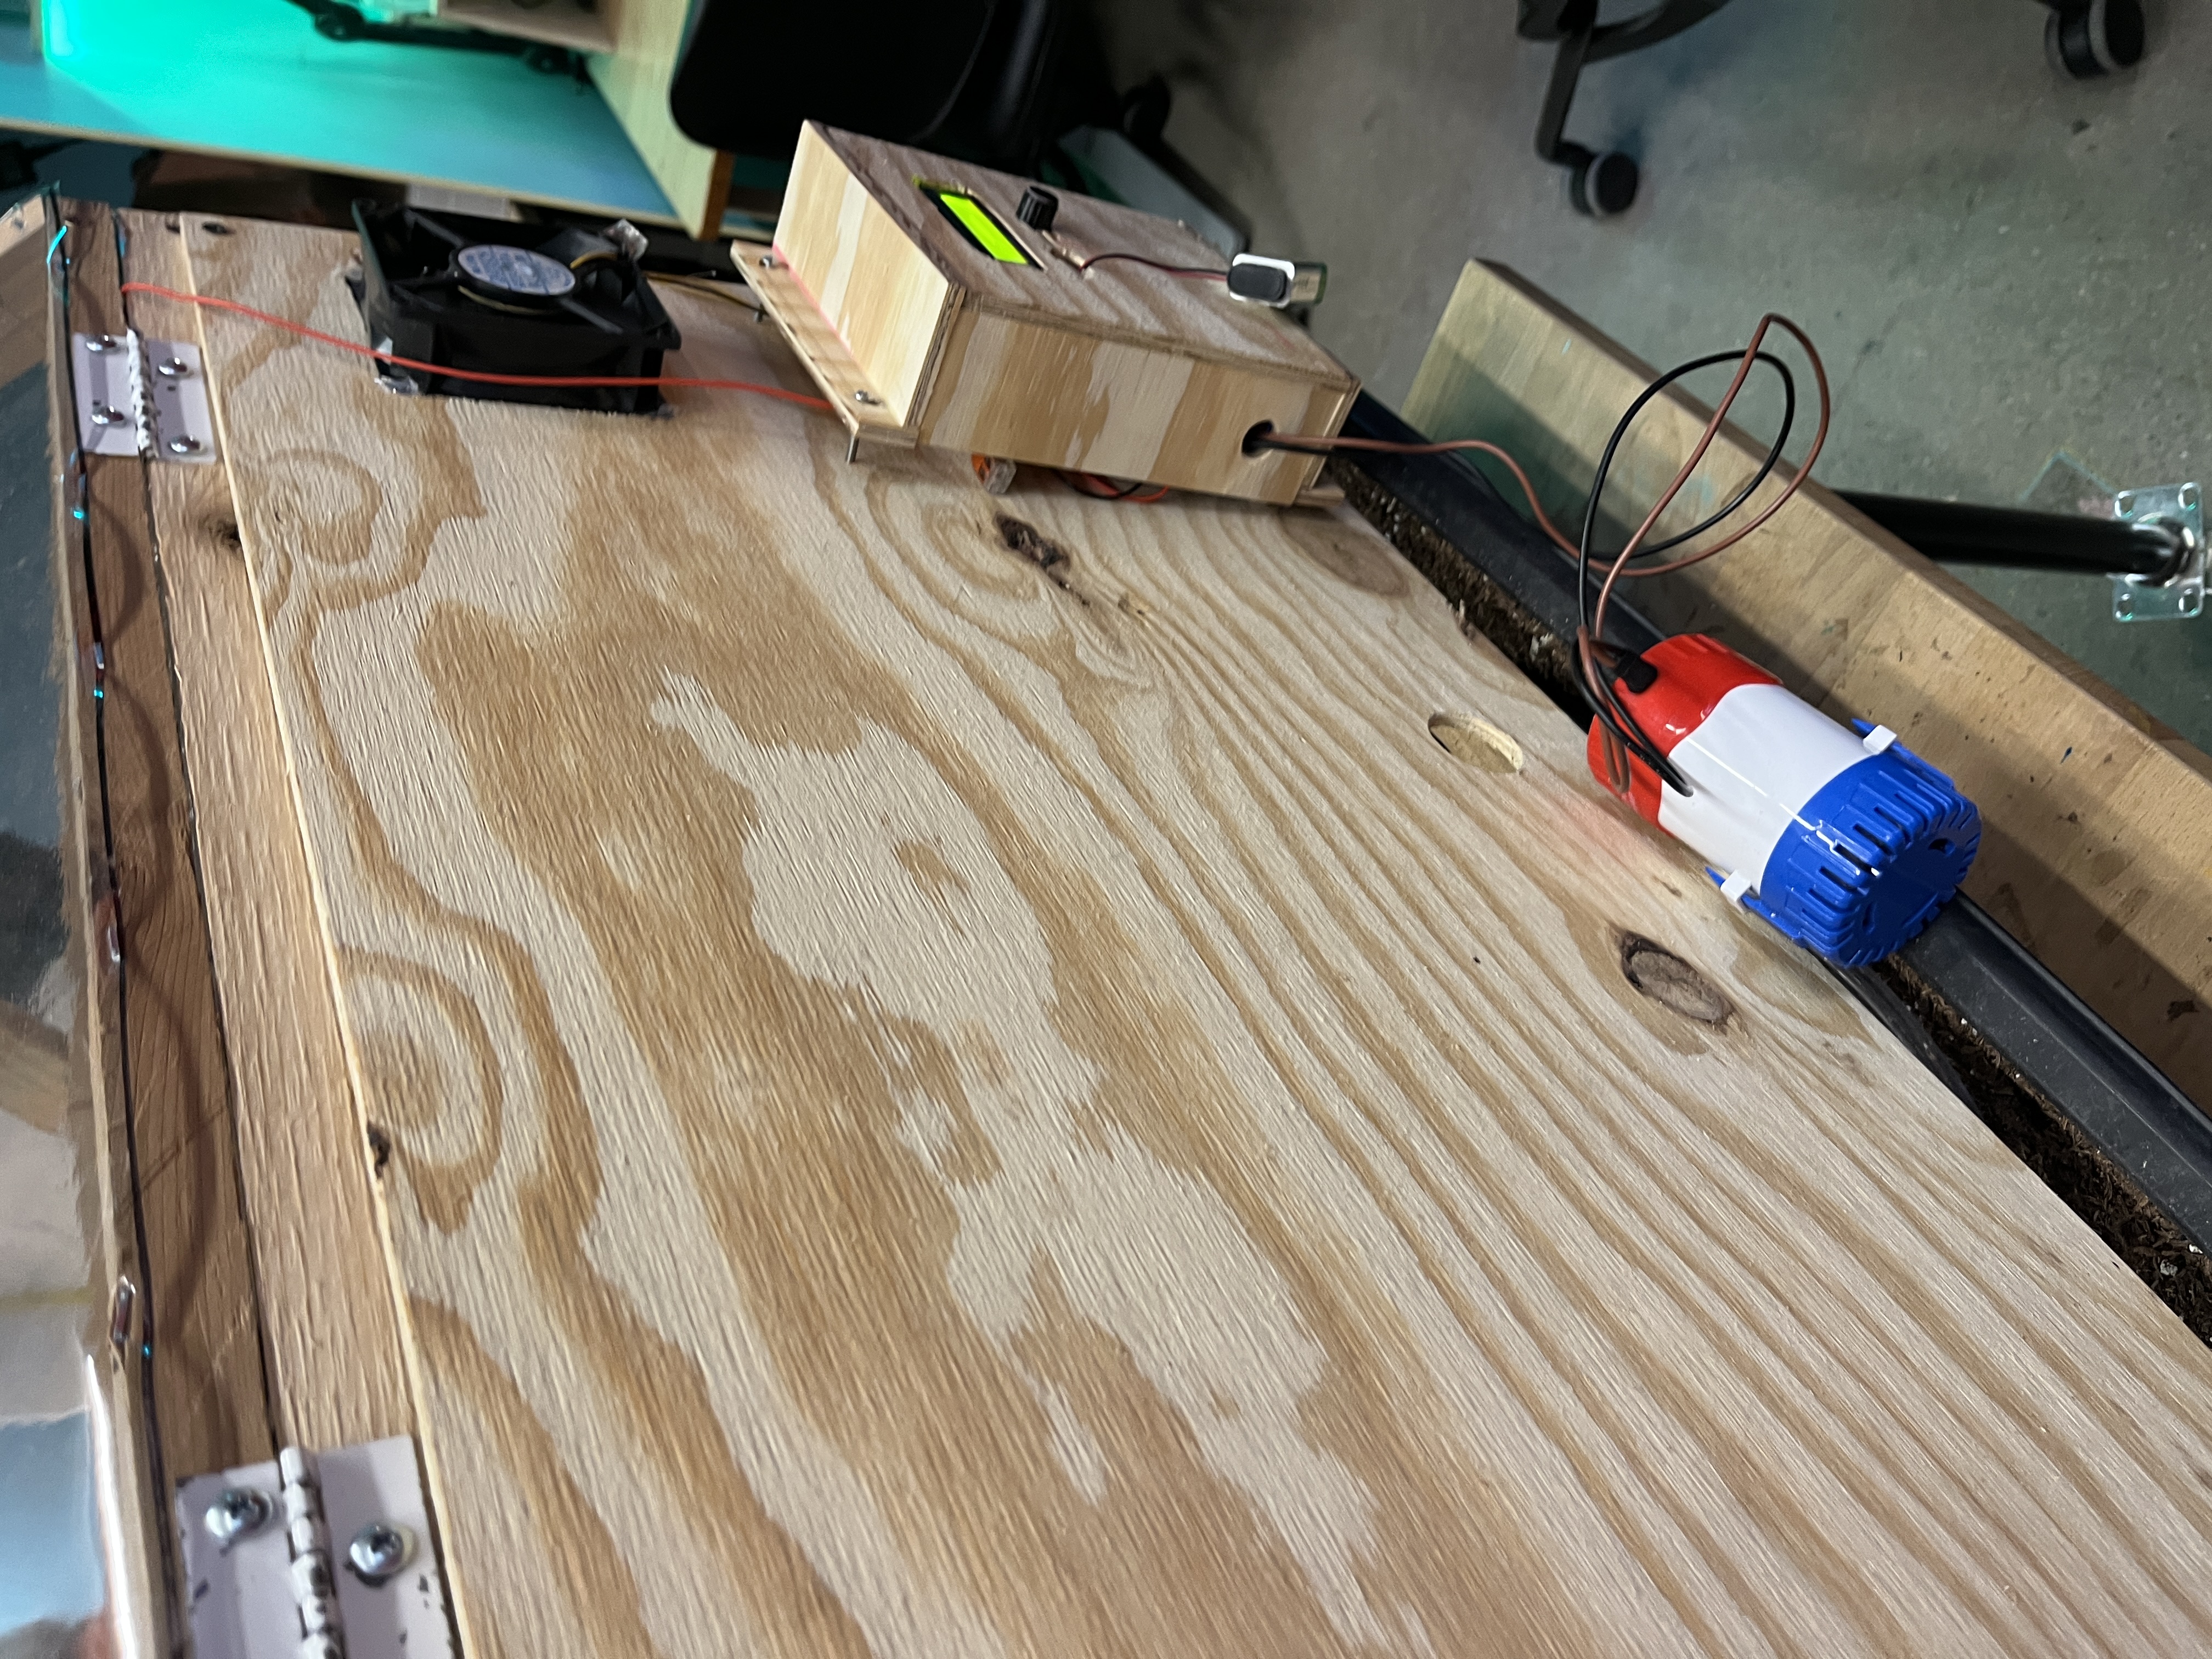
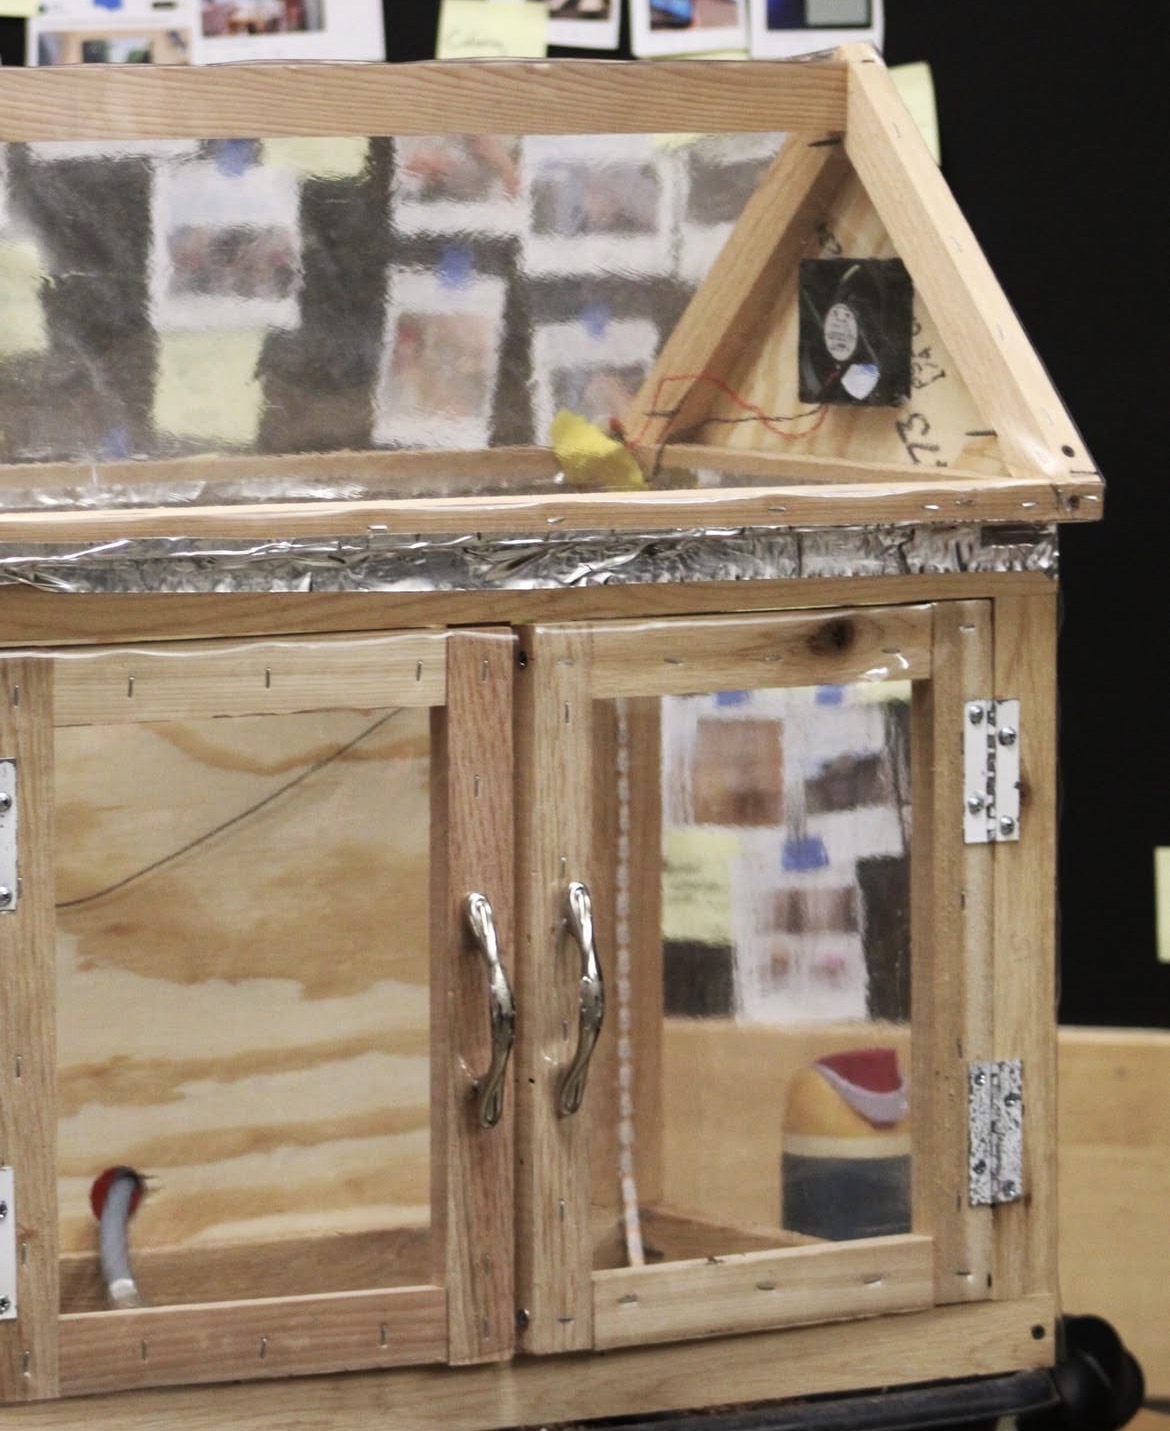
Electronics Enclosure
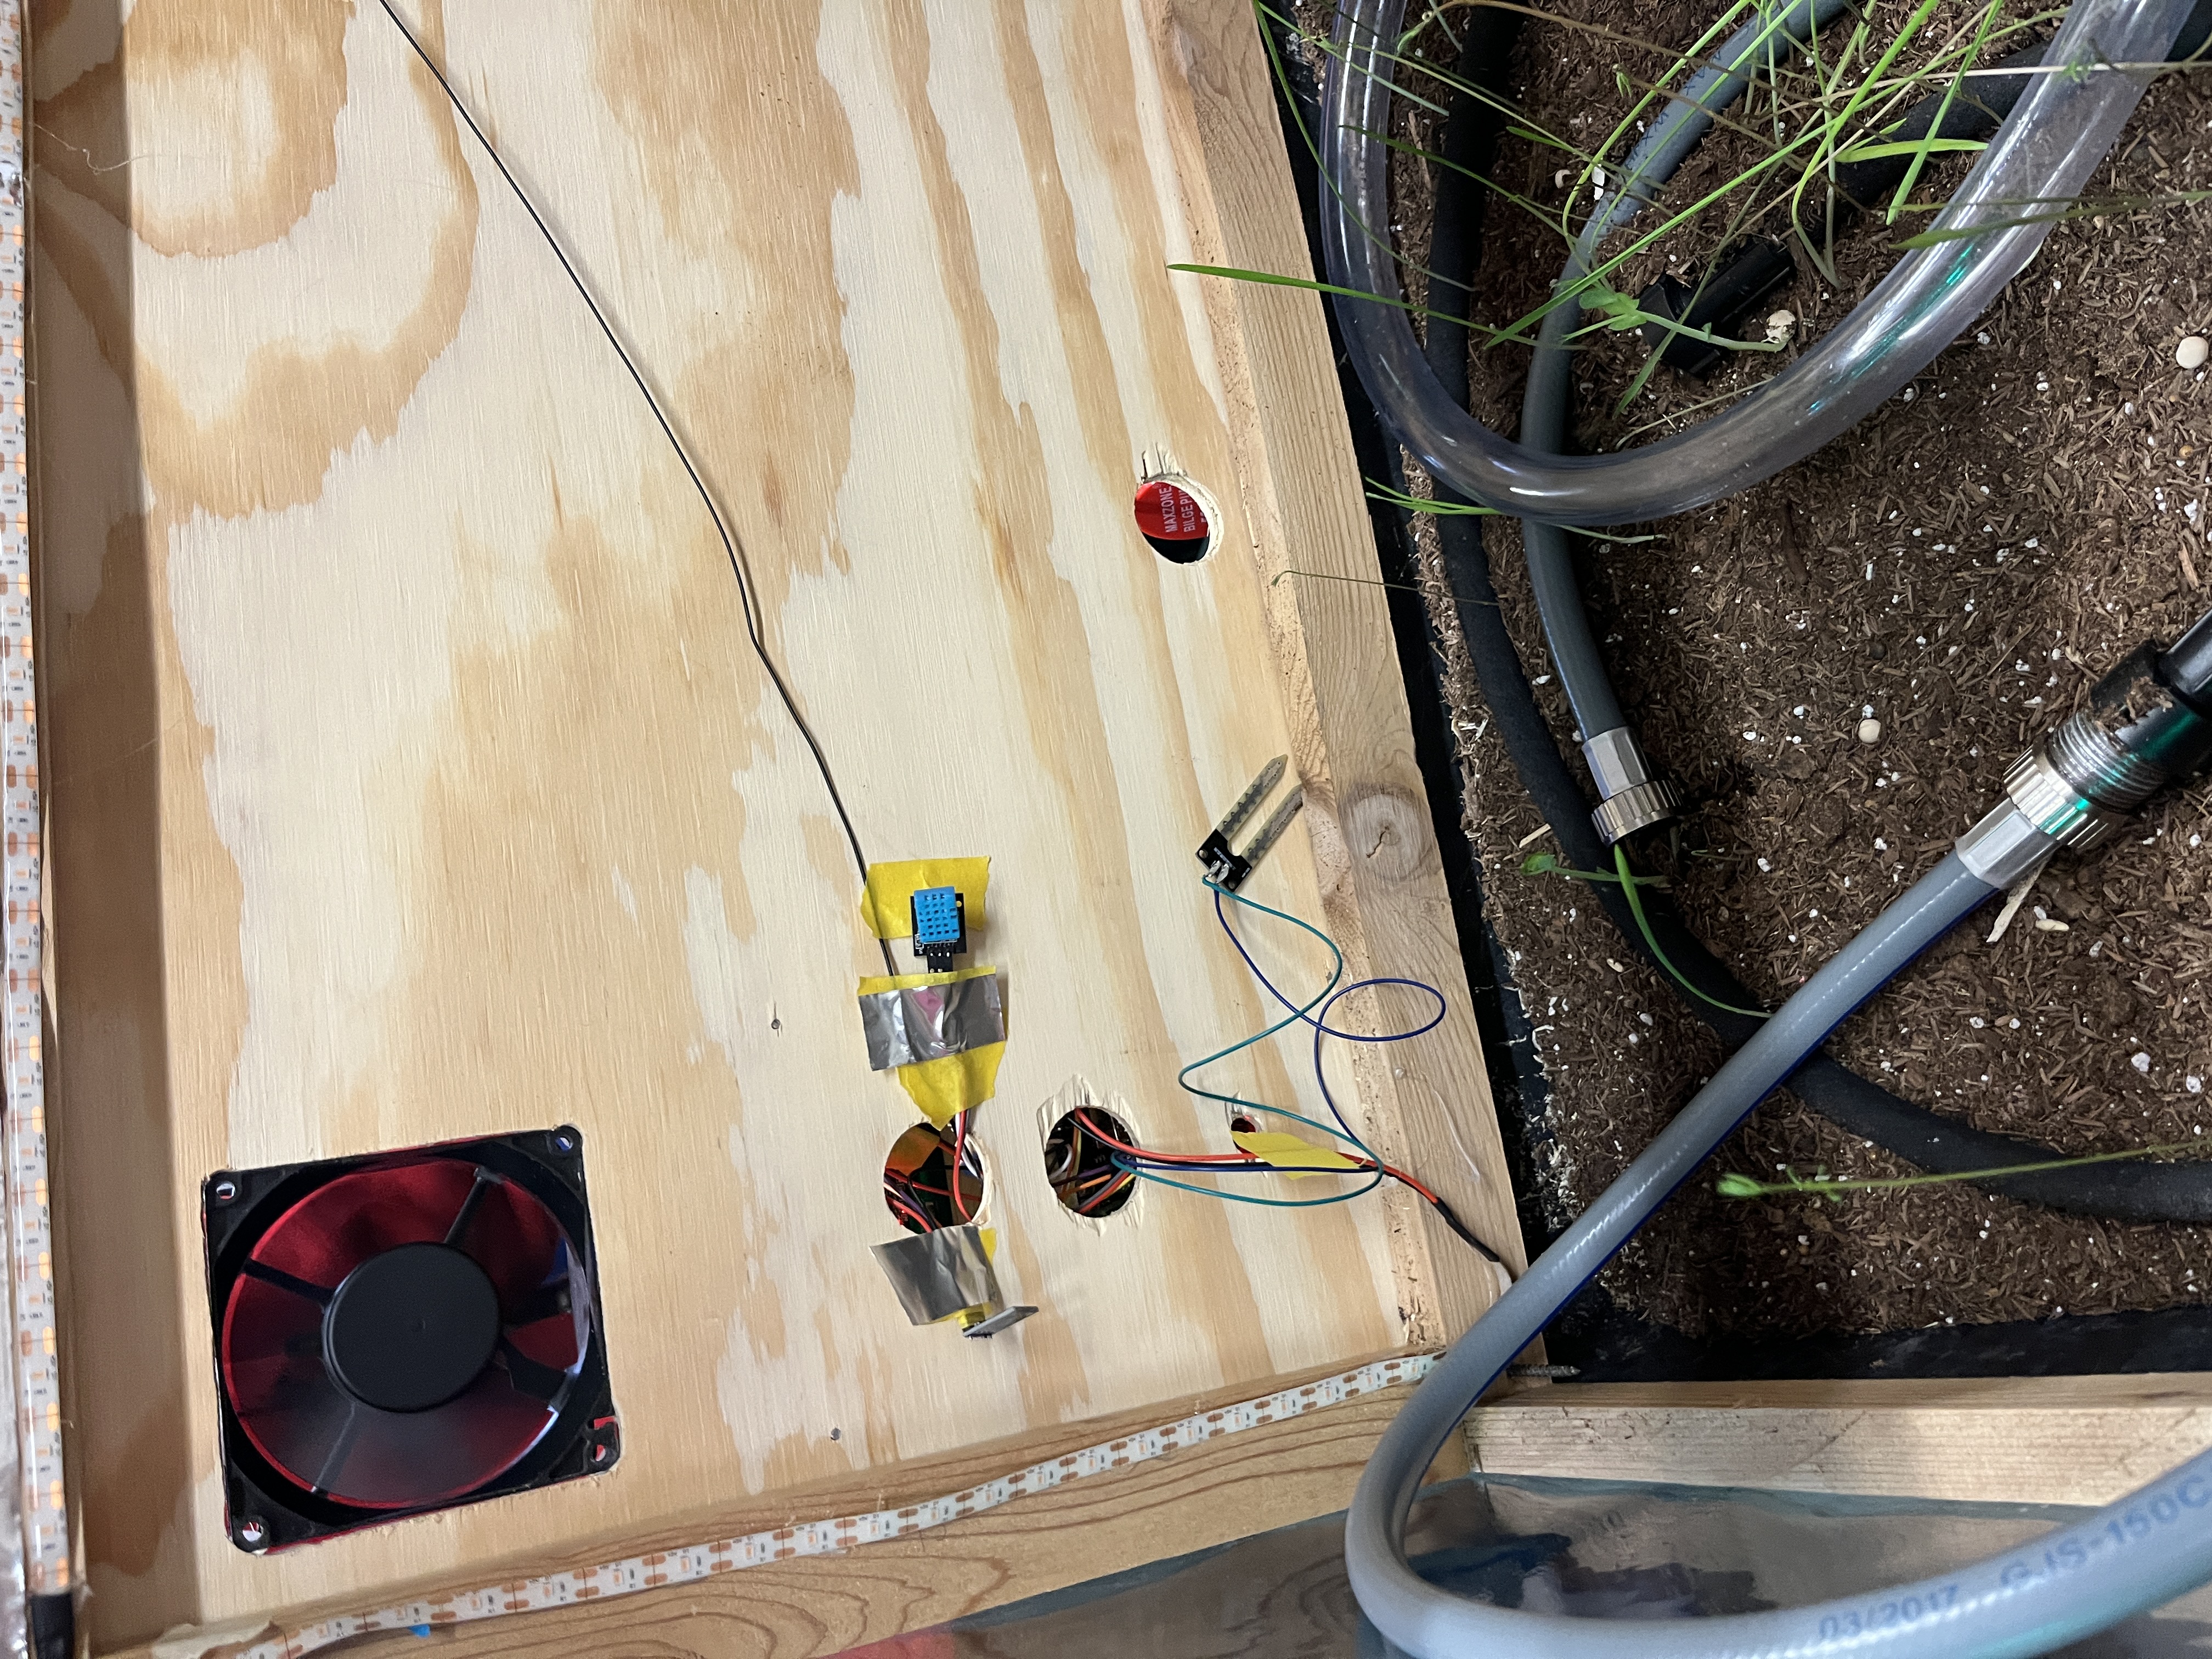
Vinyl & Back Panel


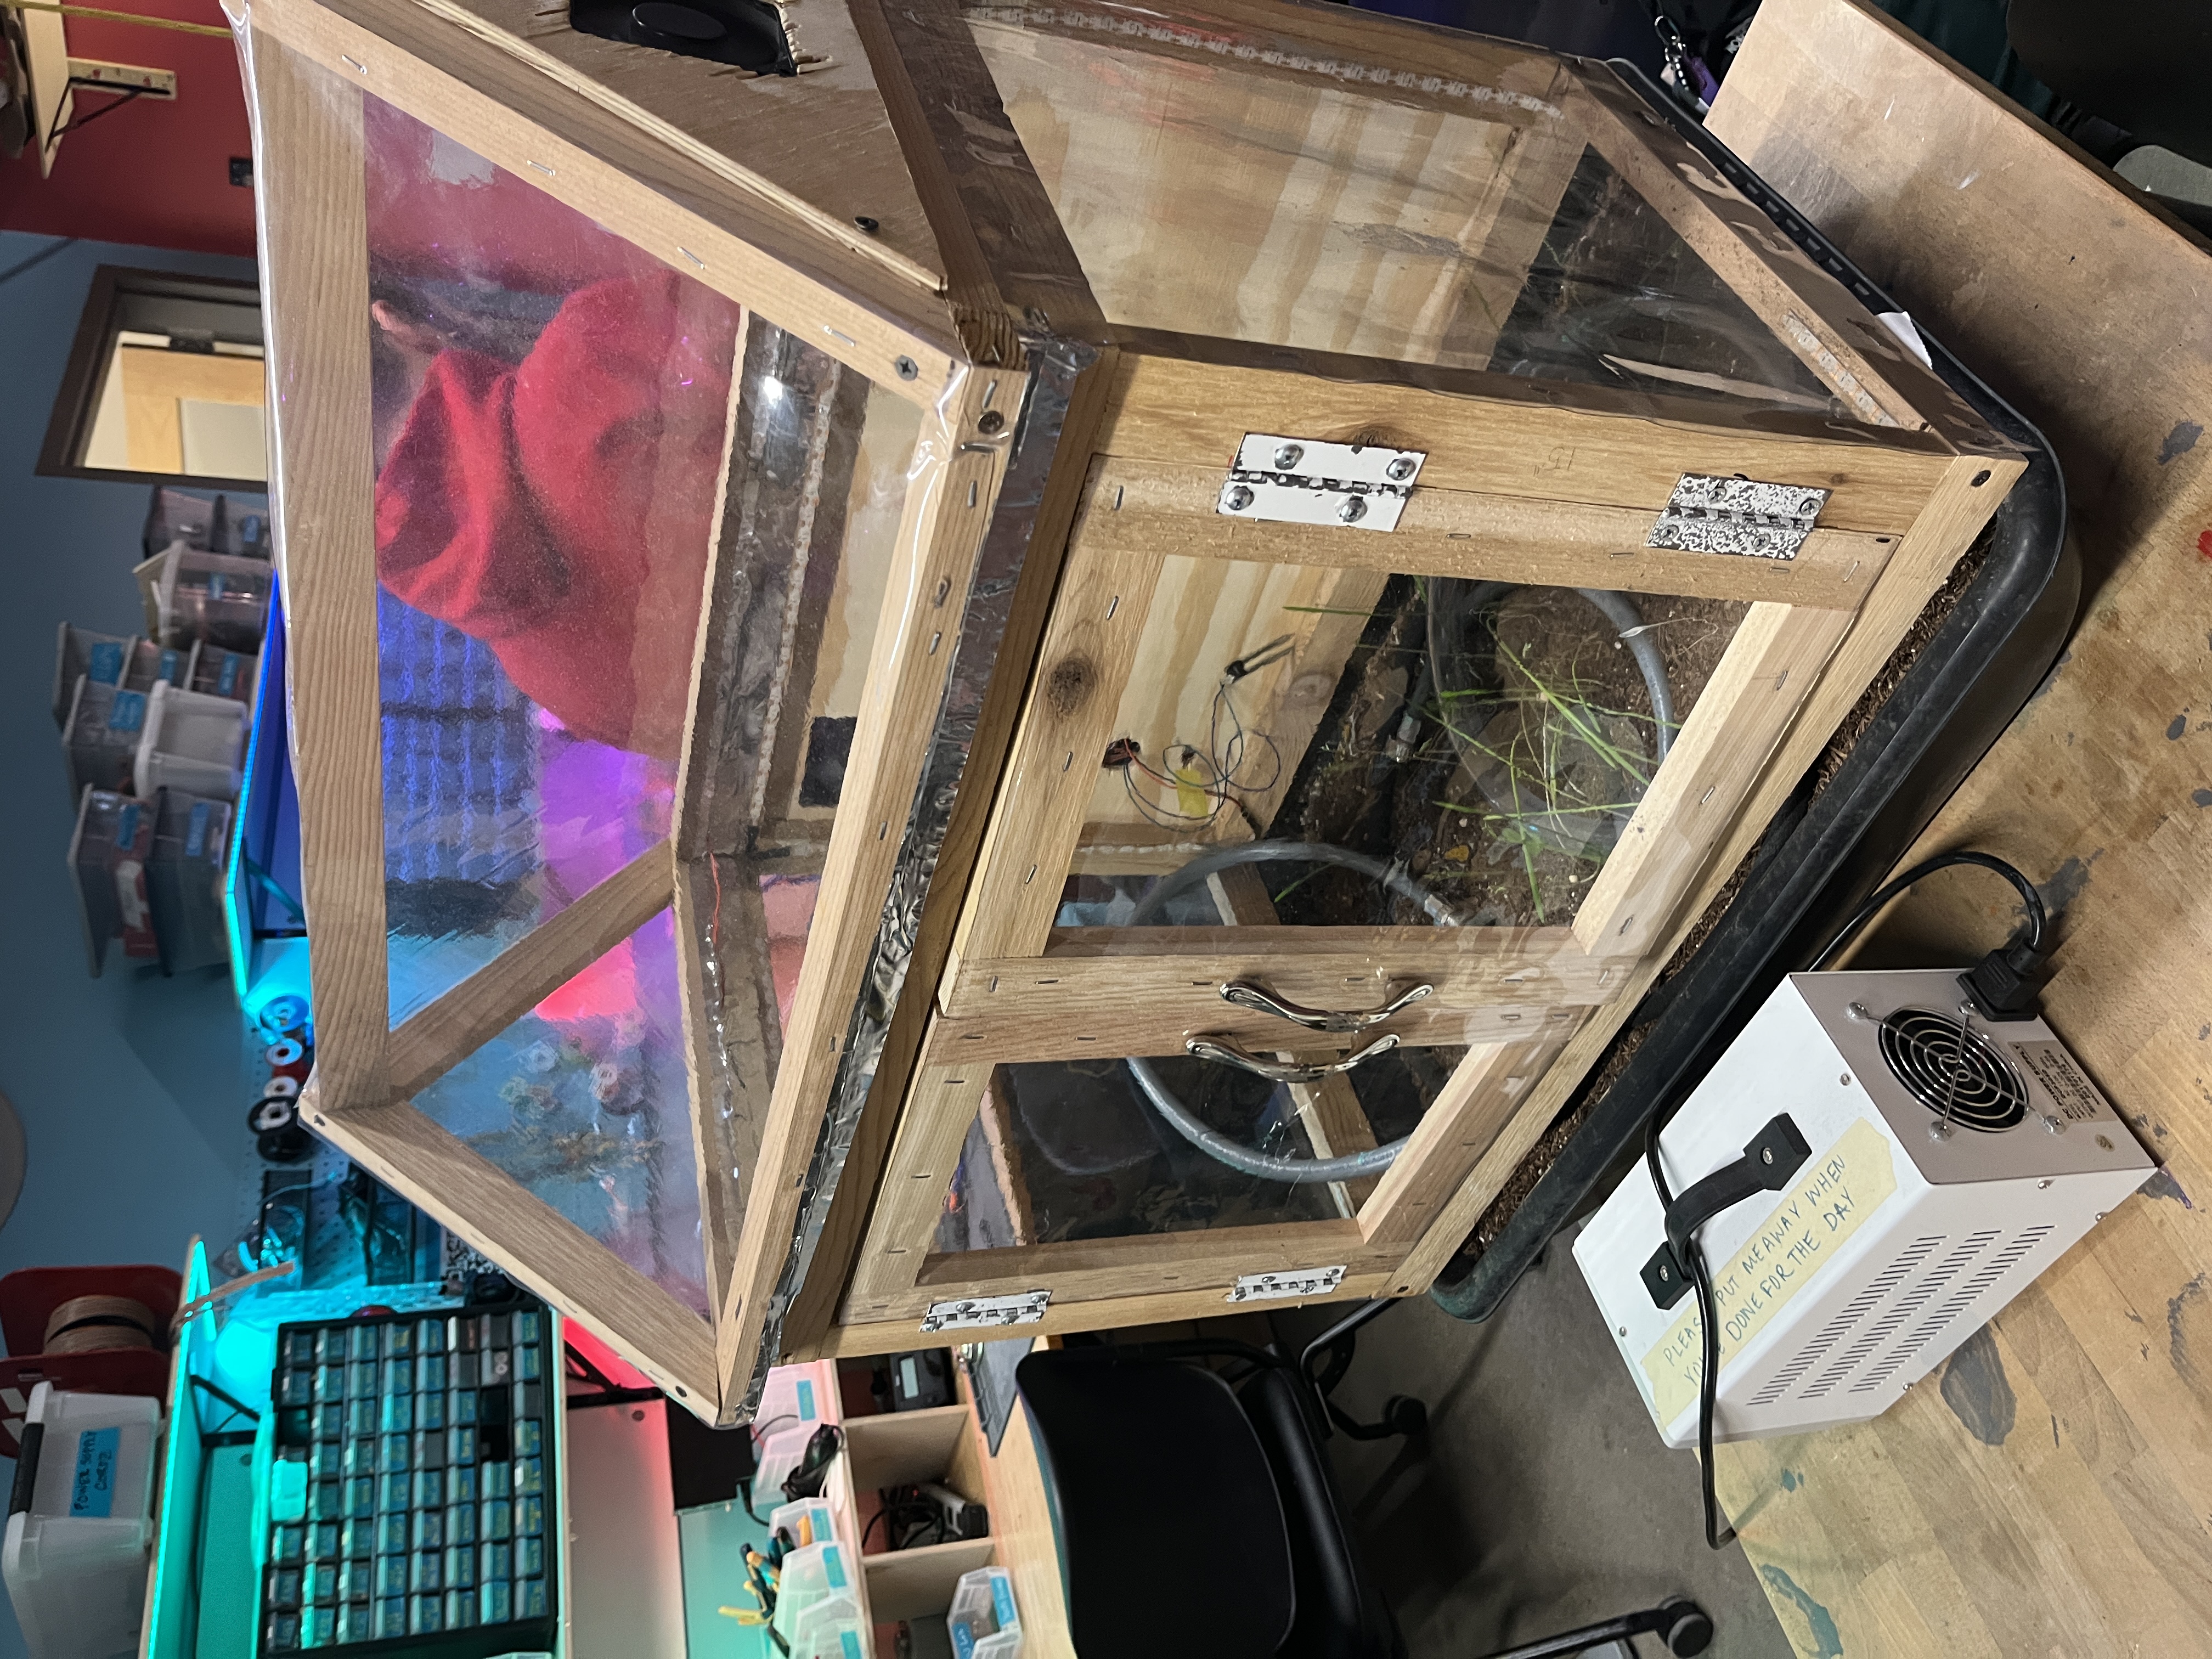
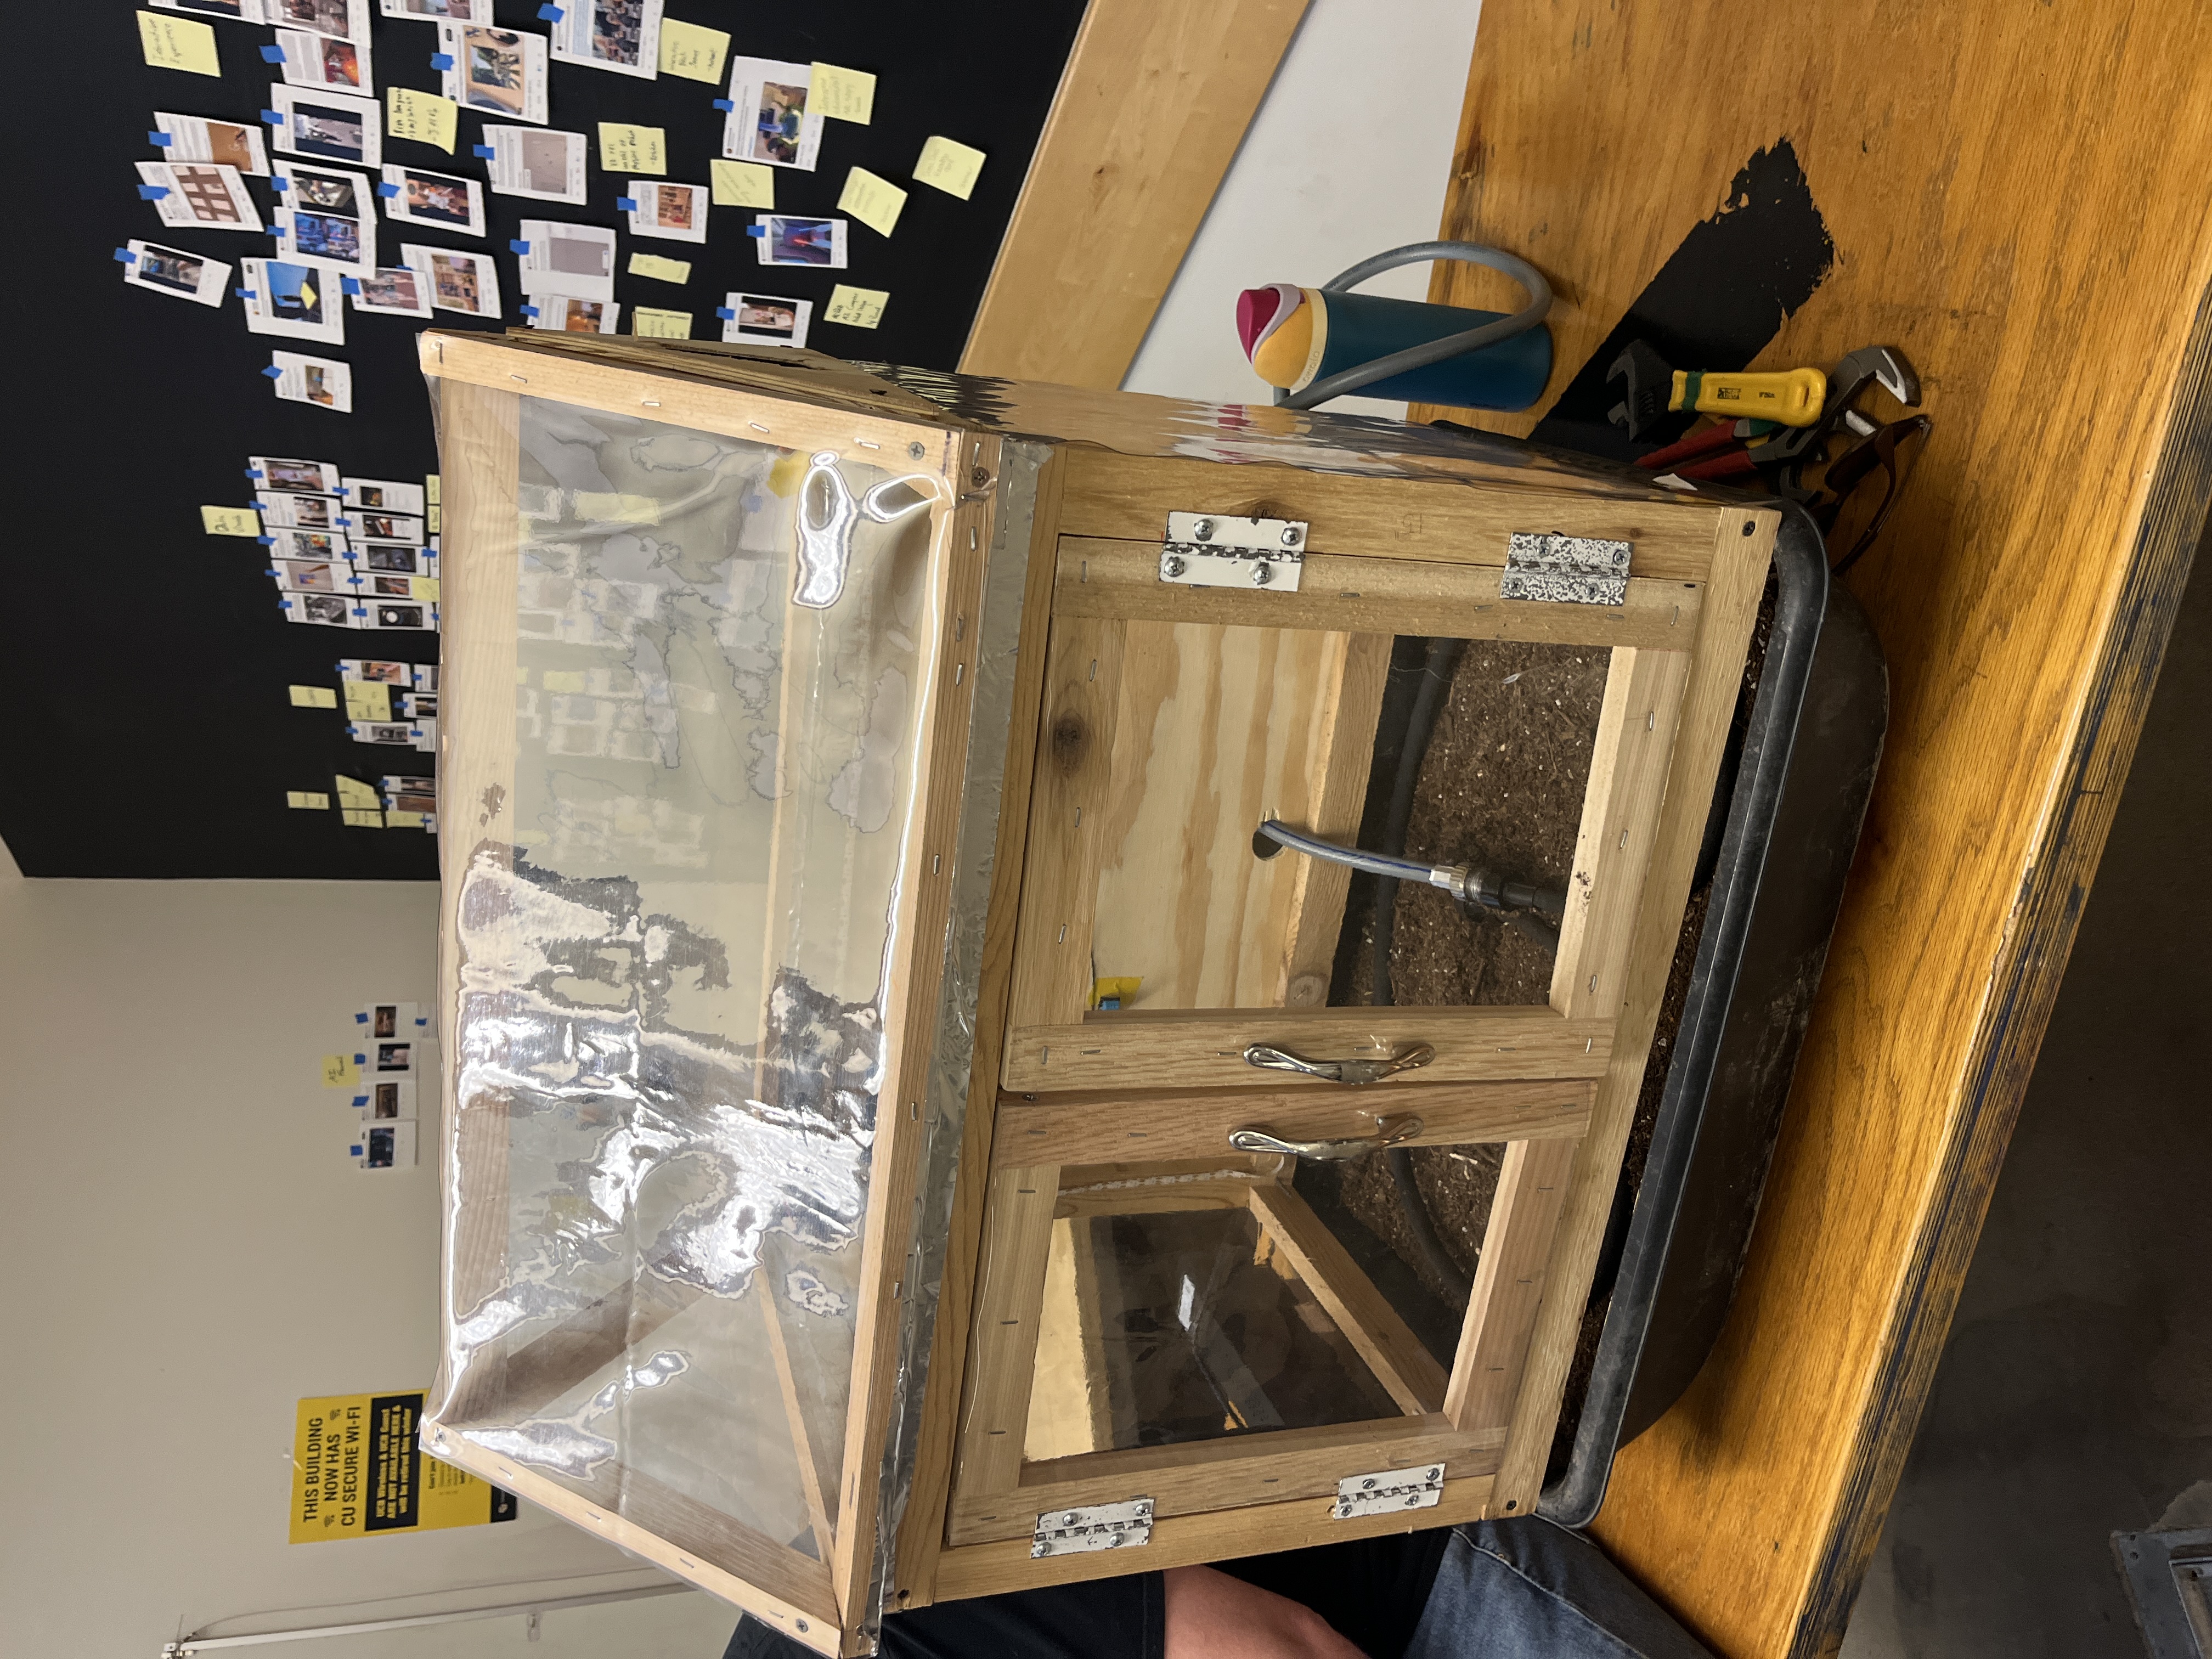
Physical Build
We calculated a total lumber requirement of 43.7 linear feet and at least 12 square feet of clear vinyl before making any cuts. The chop saw handled all the wood; the vinyl came apart cleanly with scissors.
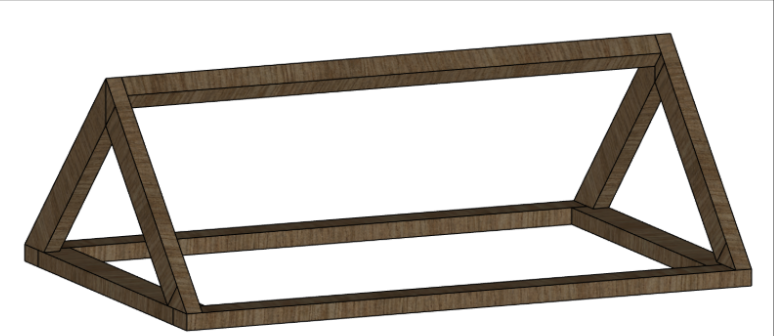
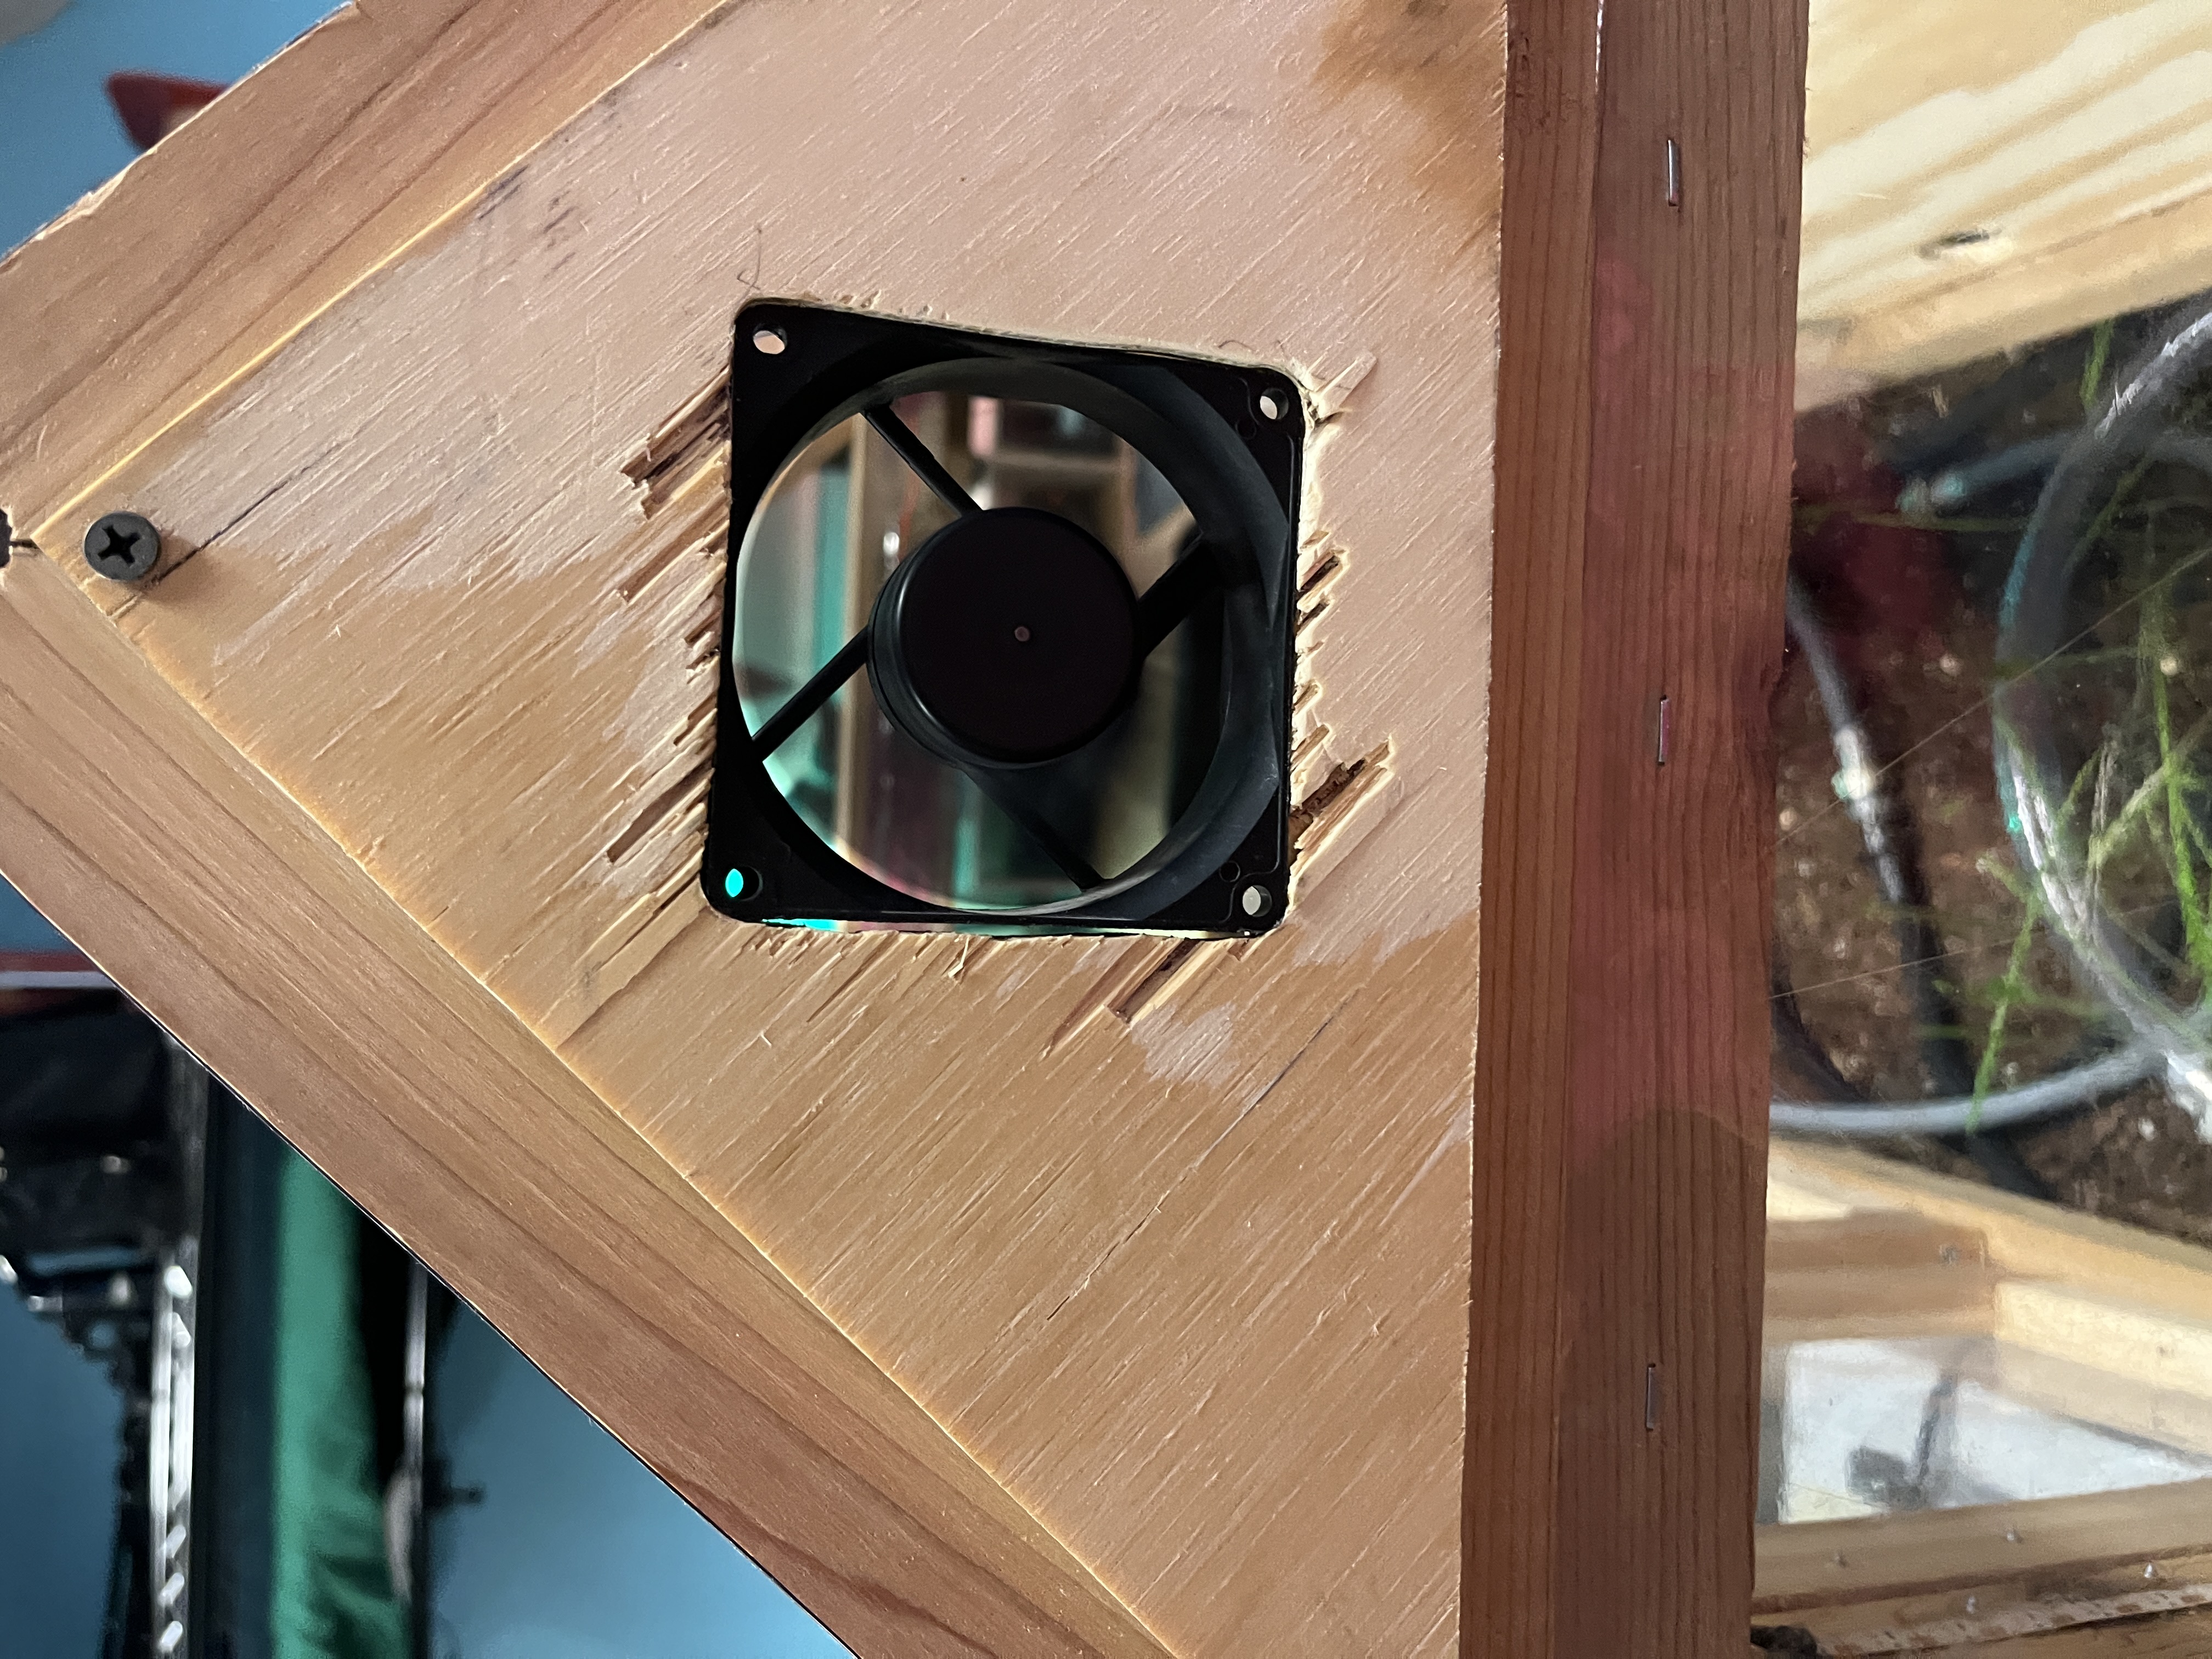
Frame construction started with three rectangular bases: dry-fit, mark screw locations, drill pilot holes, fasten. Vertical corner posts went in next, then the top rectangle, completing the structural box. The roof used four pieces with 45° mitered ends paired into two triangular peak segments, screwed to the top rectangle with a ridge piece running across the top.
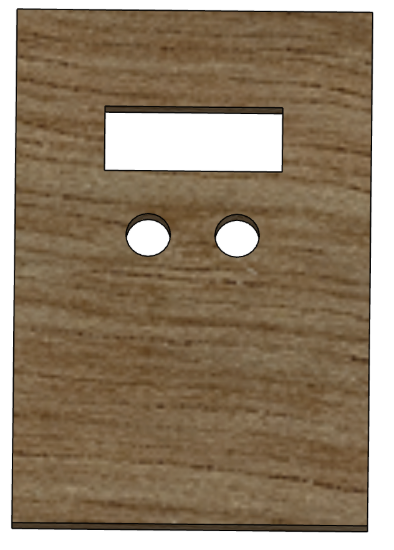
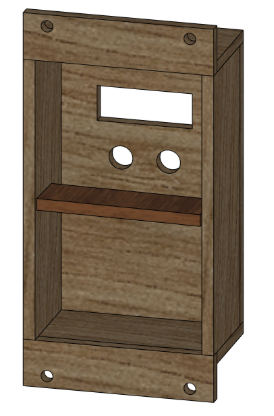
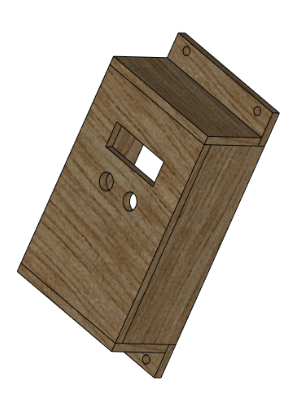
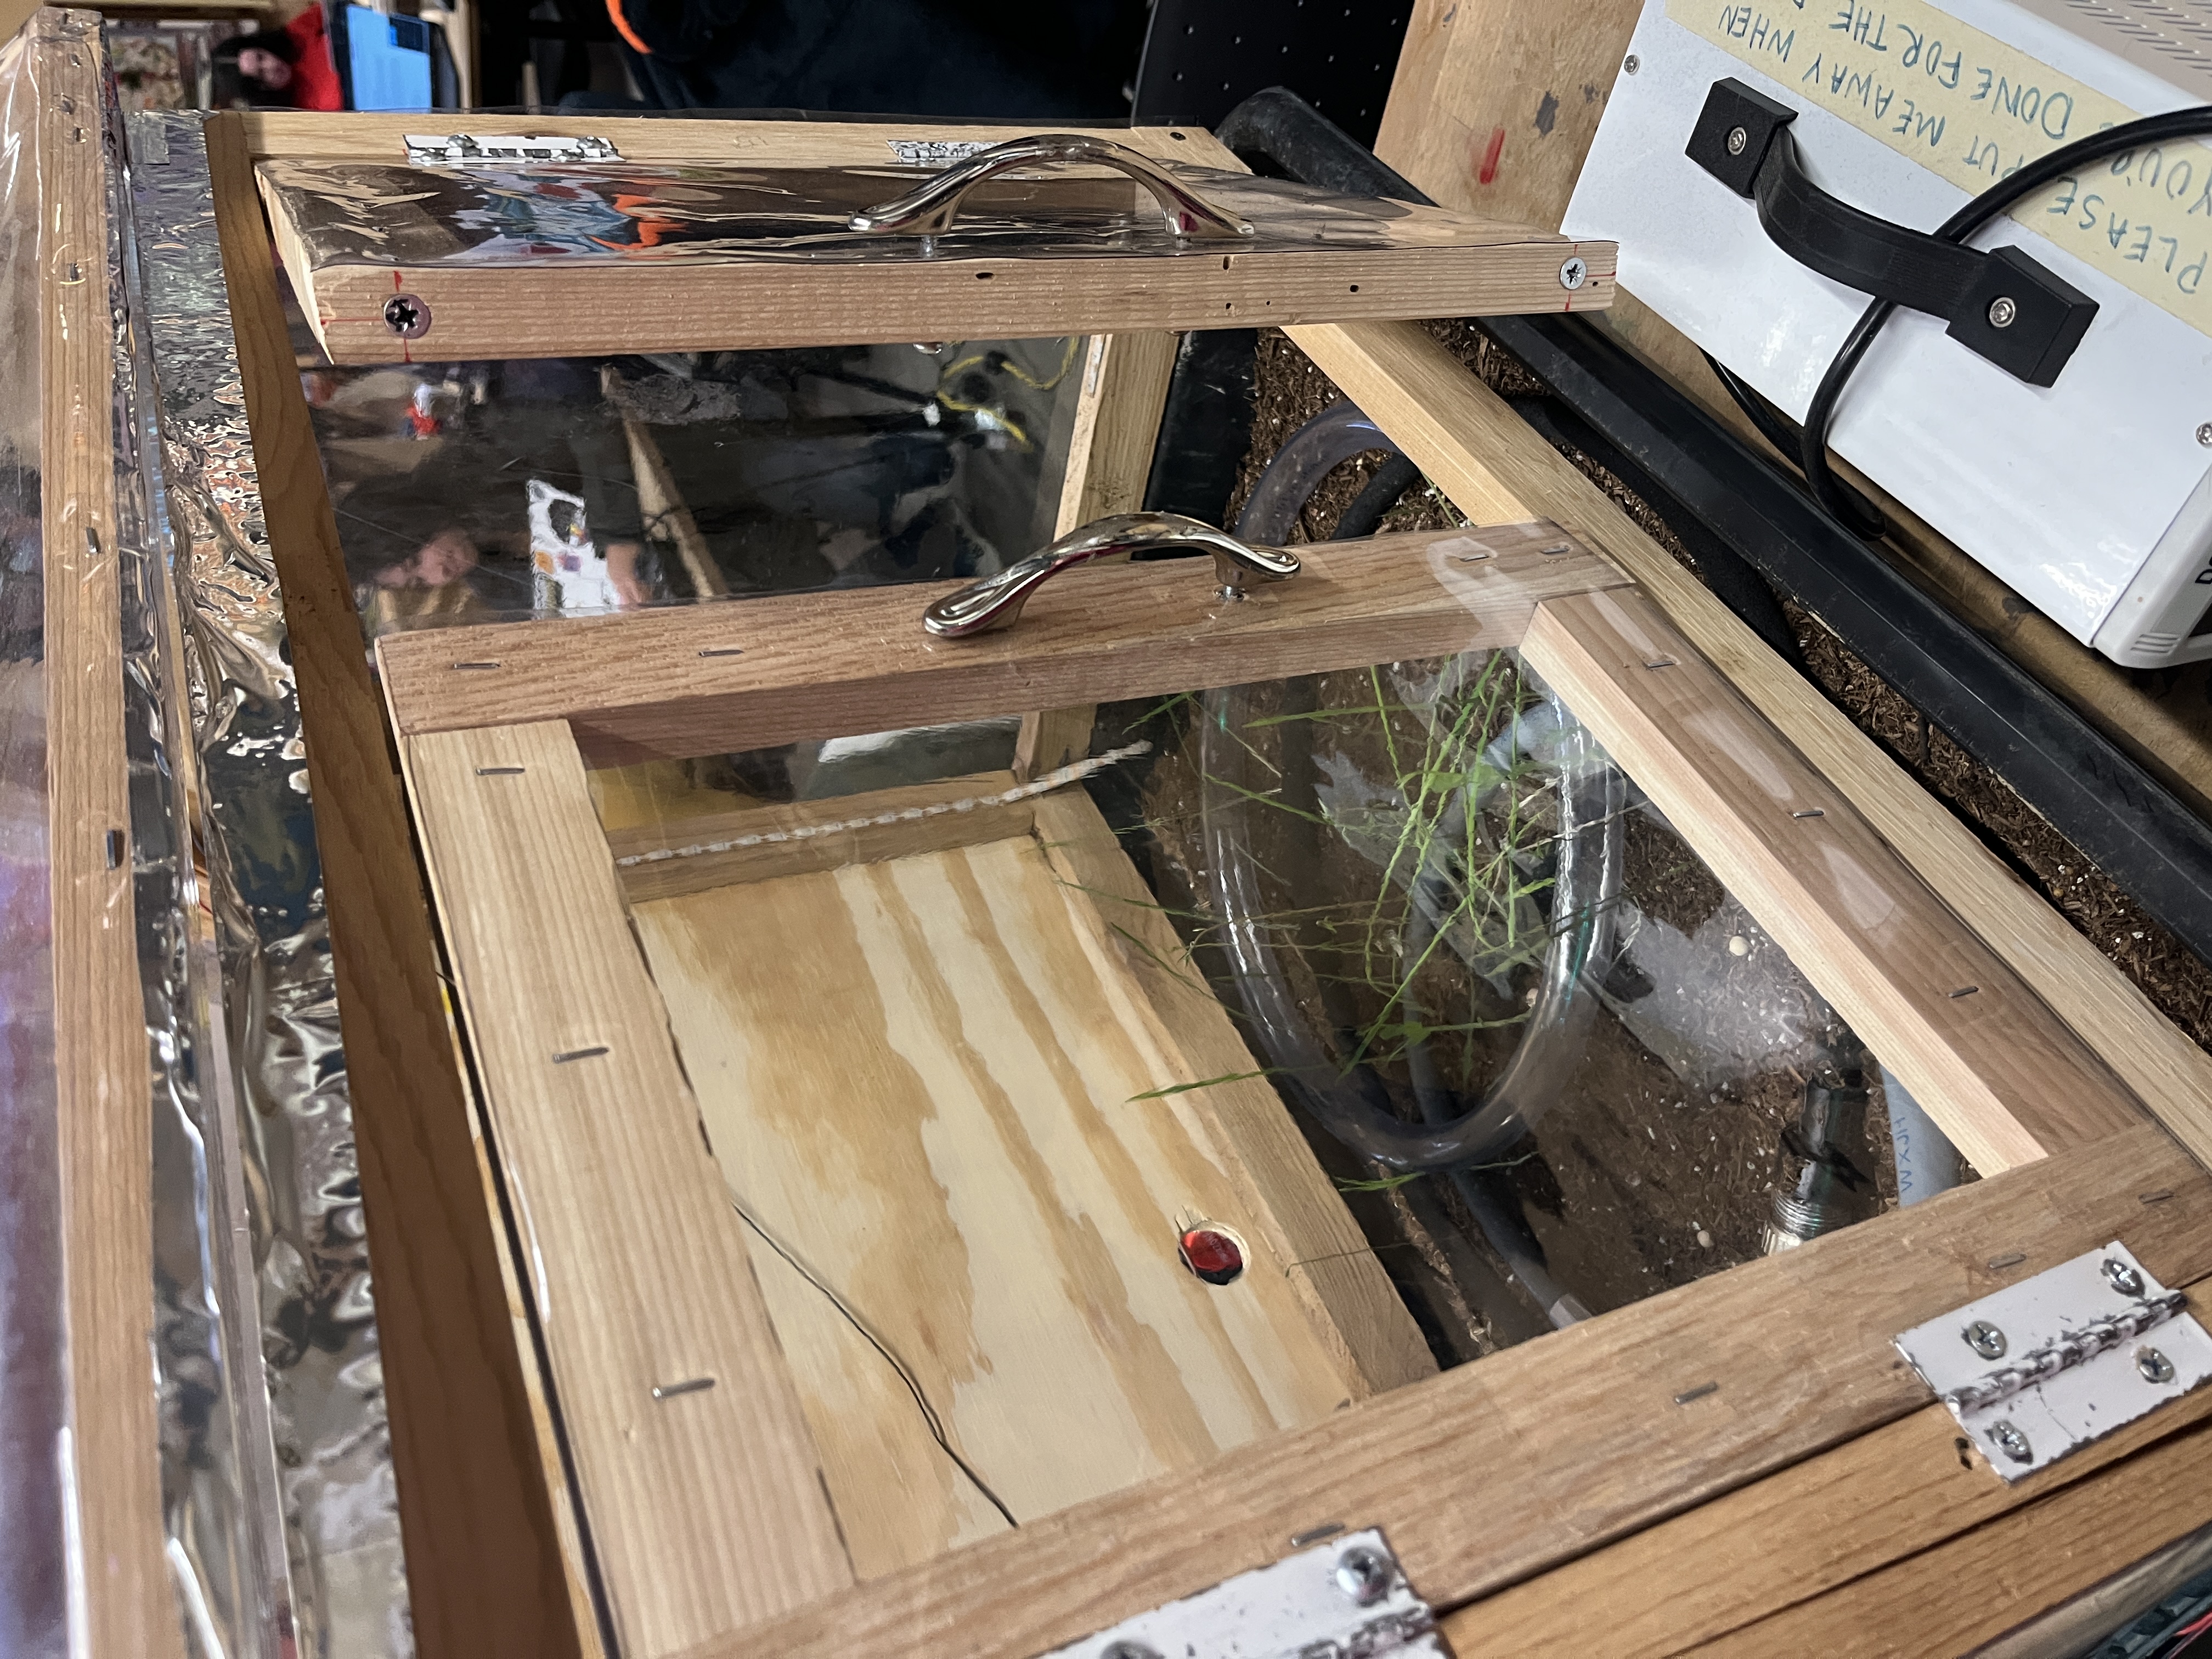
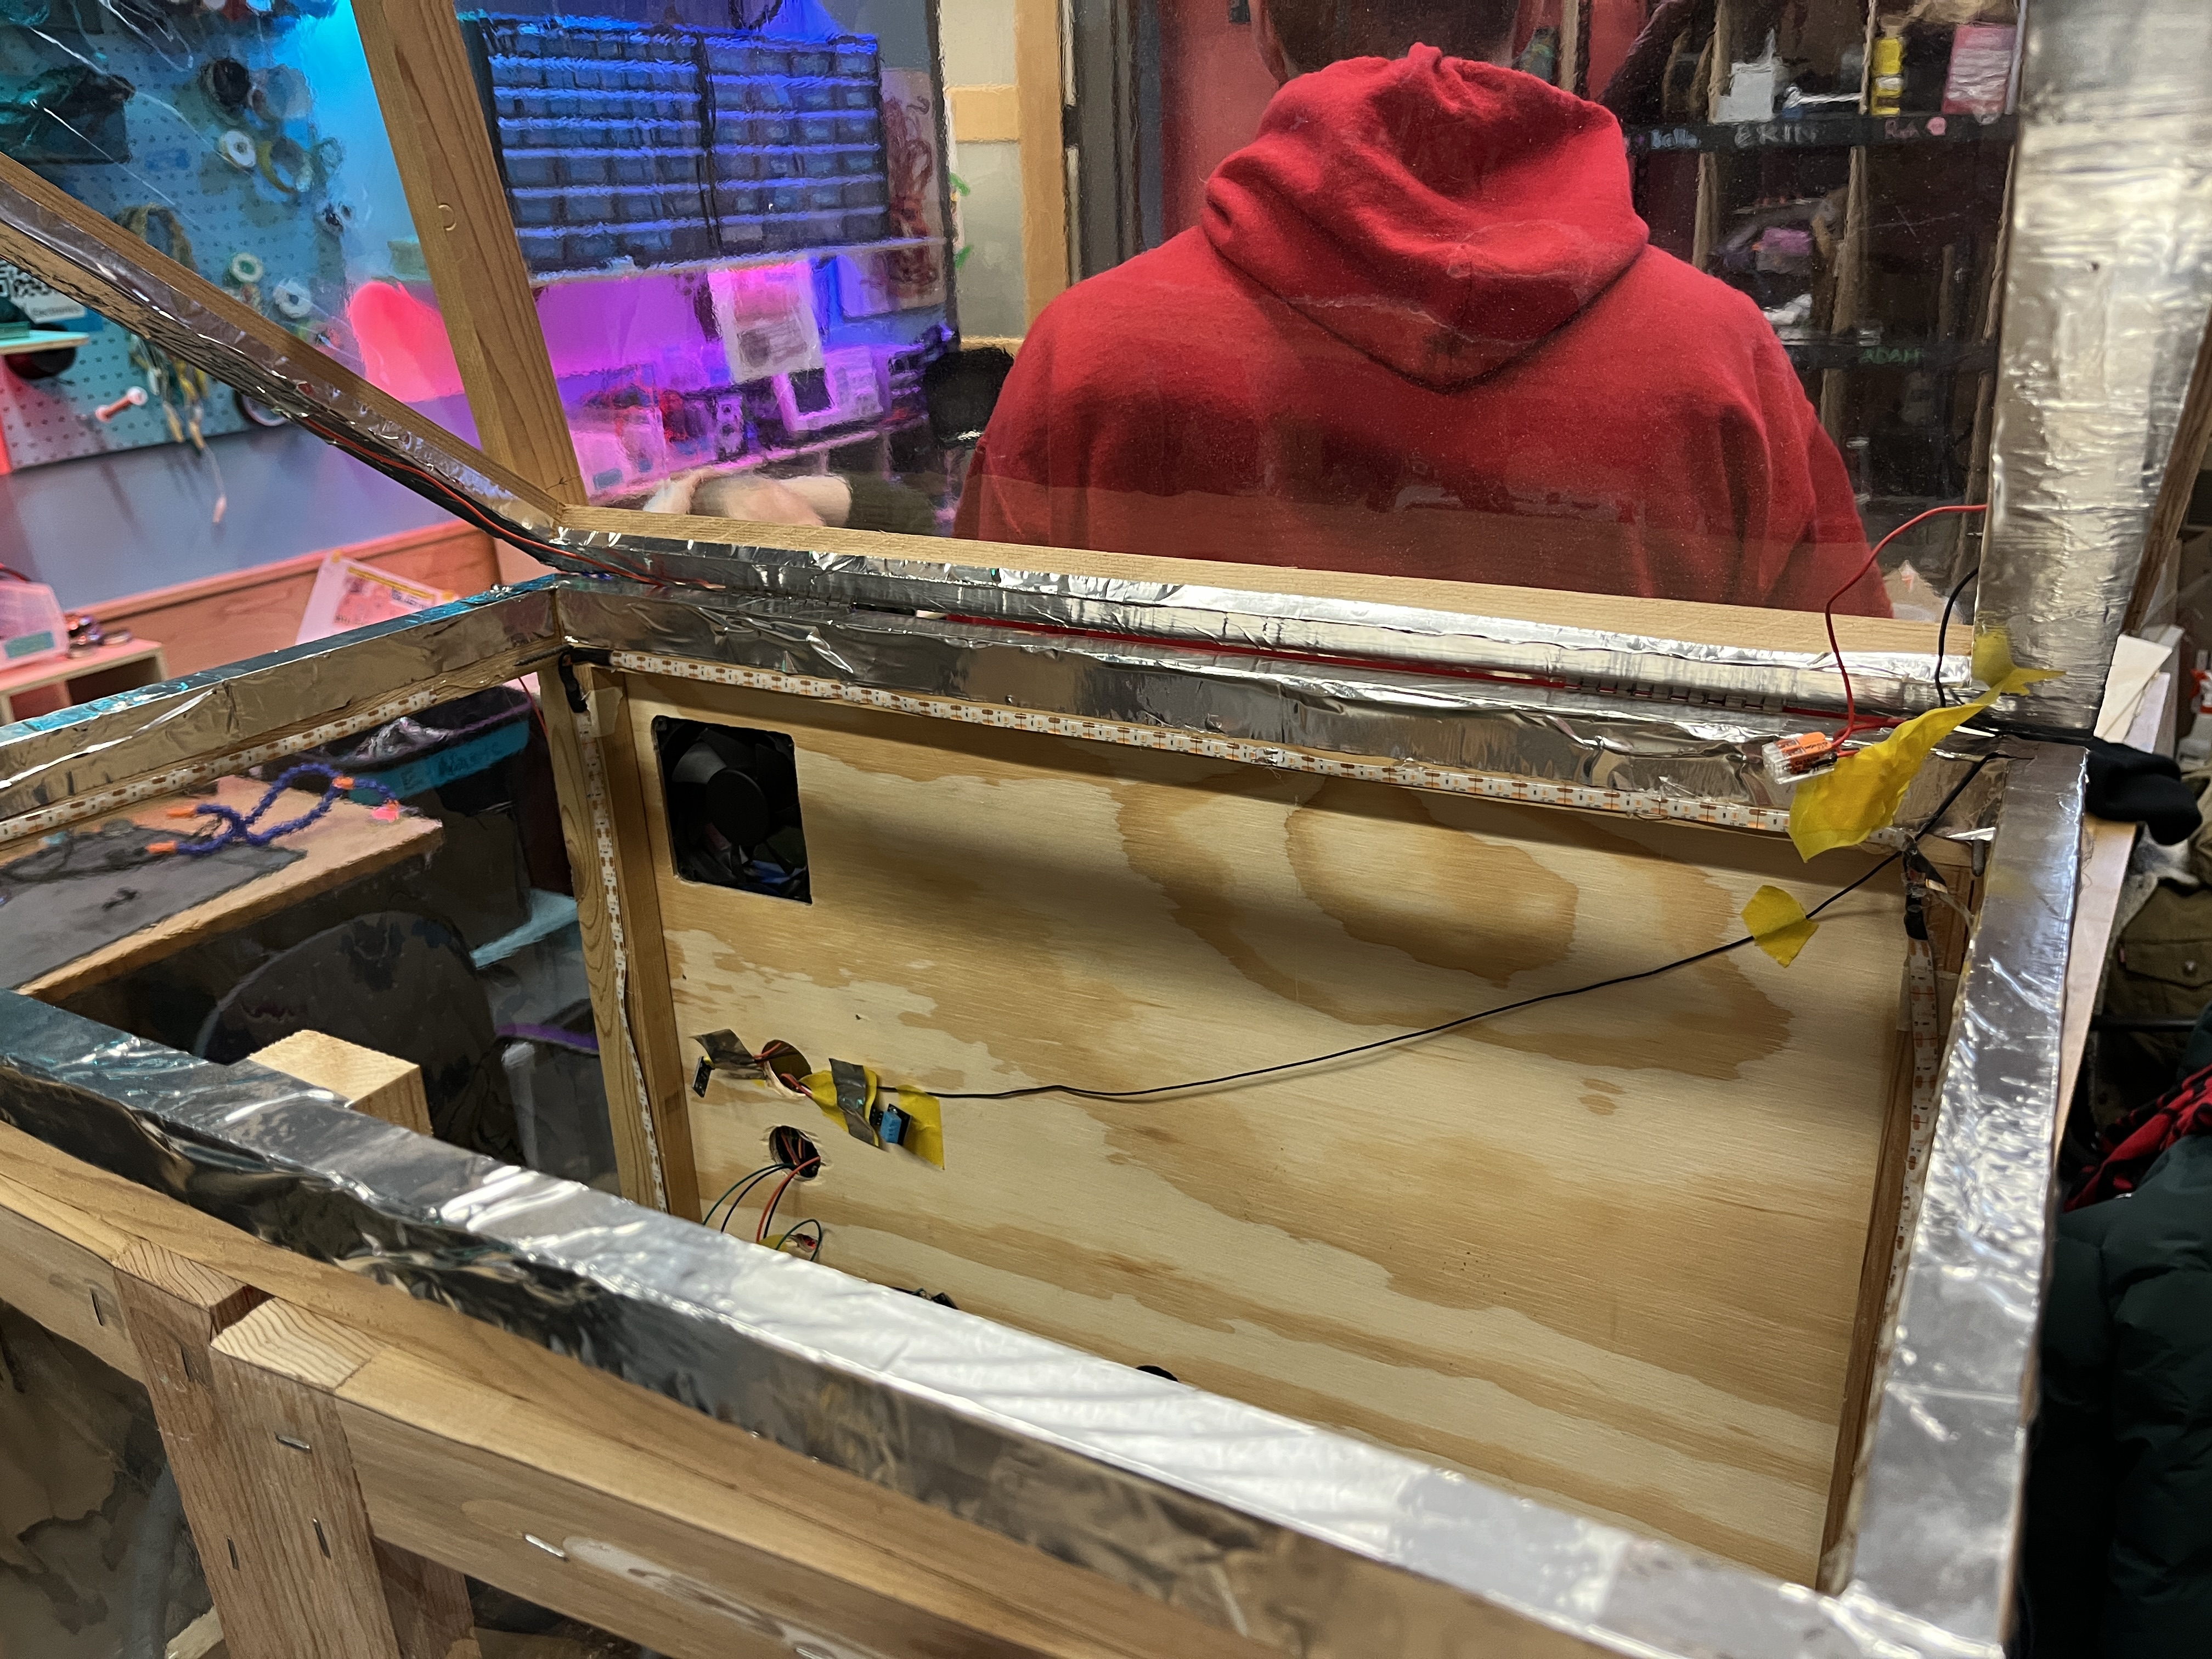
With the frame done we installed hinges along the back and on both doors, then stretched and stapled the pre-cut vinyl panels across each side. For the electronics enclosure, we routed a display cutout on the front face, drilled holes for the potentiometer and mounting bolts, then glued the box together with an internal shelf. The back panel got holes for the soaker hose and sensor leads before being screwed to the frame.

Electronics
The system runs on two power rails: a 12V external supply for pumps and fans, and a 5V battery for the Arduino and sensors. The Arduino Uno reads the light, temperature, humidity, and soil moisture sensors continuously. MOSFETs gate the 12V loads, when soil moisture drops below threshold the bilge pump fires; when the photo-resistor reads low light the pixel strip activates. Connections were insulated with heat-shrink tubing, and the LED strip was soldered in a corner configuration down each interior leg of the frame.
Circuit Diagram
Final Product
Limitations & Future Work
- Heating element — nothing currently keeps the greenhouse warm in cold weather. A heater or heavy-duty grow lights would allow year-round production through Colorado winters.
- Modularity — adding additional base sections with conductive tape connections at each junction would stack growing levels without redesigning the full structure.
- Dedicated power — the current 12V supply requires manually attaching jumper wires each session. An embedded, always-on power connection would make the system far more reliable.
- Electronics enclosure access — the current open-back box is awkward to service. A hinged front or side door would make wiring accessible. The back-panel placement also makes wall-mounting impractical and contradicts the plywood backing added for that purpose.
- Plumbing — connections between the soaker hose, regular hose, and pump are loose and leaked during testing, creating a hazard near the electronics. More robust fittings are needed.